
Using Image to 3D
Upload one clear image, choose generation options, understand the exact credit cost, and inspect the completed 3D model.
Image to 3D turns one JPEG, PNG, or WebP image into a complete 3D model. The most reliable input shows one clear object on a clean background, and the workbench displays the exact credit cost before generation begins.
Prepare the input image
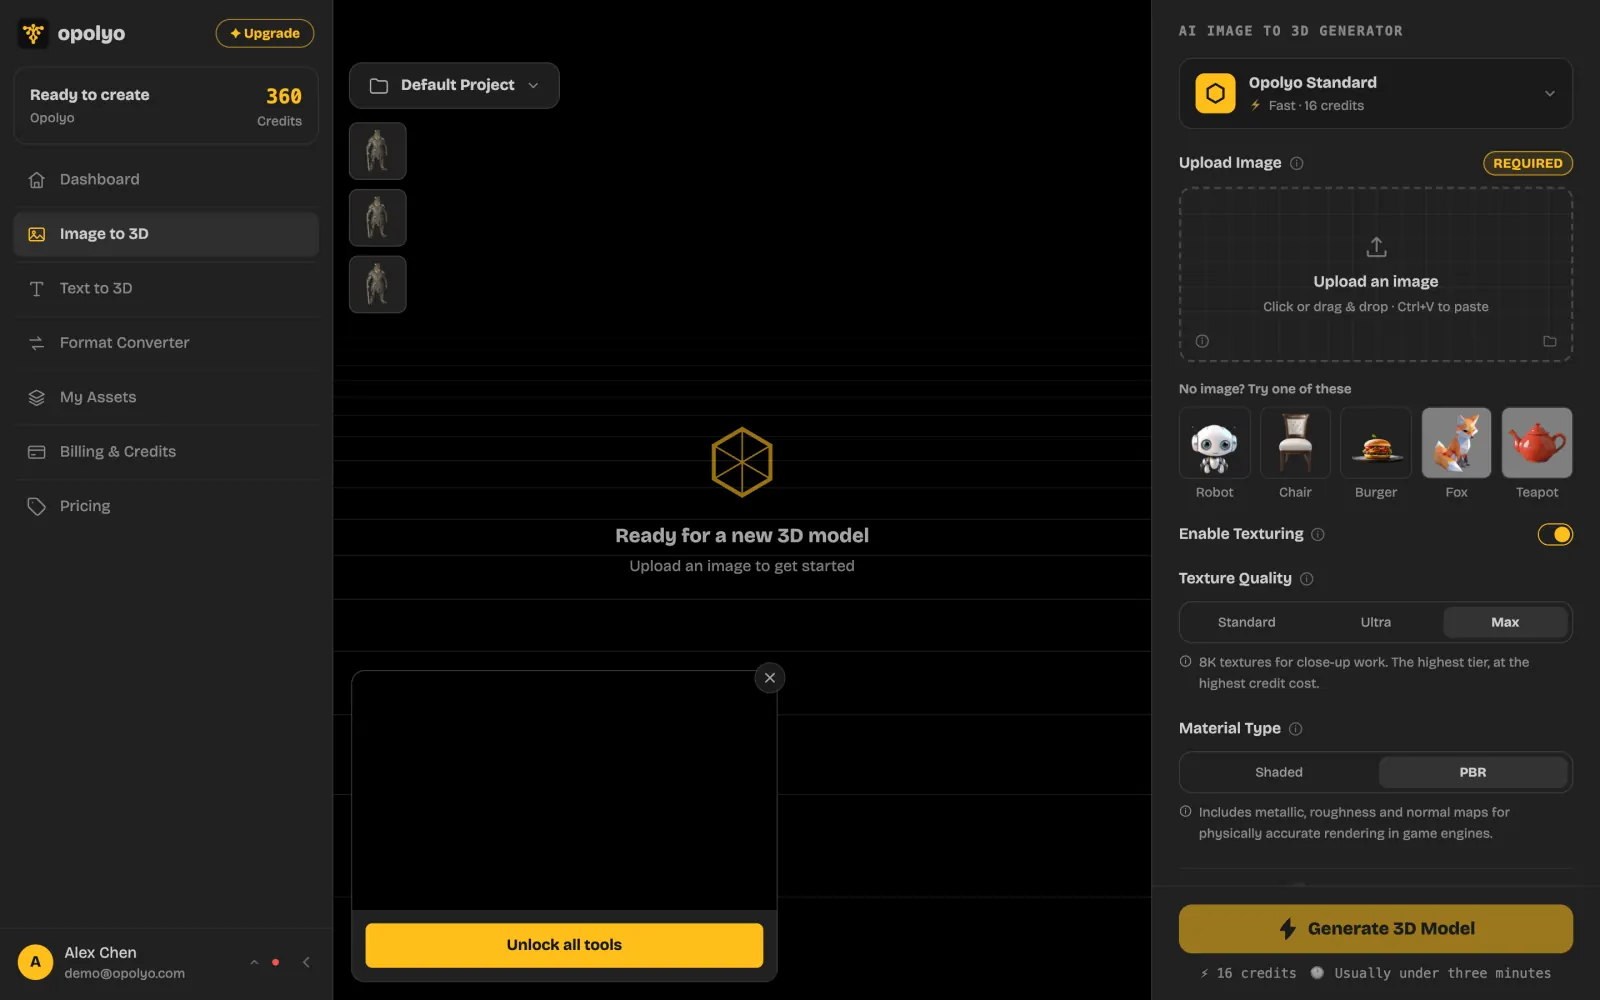
What makes a good input image?
A strong input gives the generator a clear silhouette and visible shape information. Use an image with these qualities:
| Input quality | What to look for |
|---|---|
| Clear subject | Keep the object sharp, well lit, and fully inside the frame. |
| Clean background | Use a plain or uncluttered background that separates from the object. |
| Single object | Show one main object without overlapping props, hands, or nearby items. |
| Useful viewpoint | A three-quarter view reveals the front and one side at the same time. |
| Upload requirement | Limit |
|---|---|
| File type | JPEG, PNG, or WebP |
| File size | 10 MB maximum |
| Image count | One image |
Hidden surfaces are inferred, so make important features visible in the source image whenever possible.
Generate the model
Upload the image in Upload Image. You can choose a file, drag it into the upload area, or paste it from the clipboard.
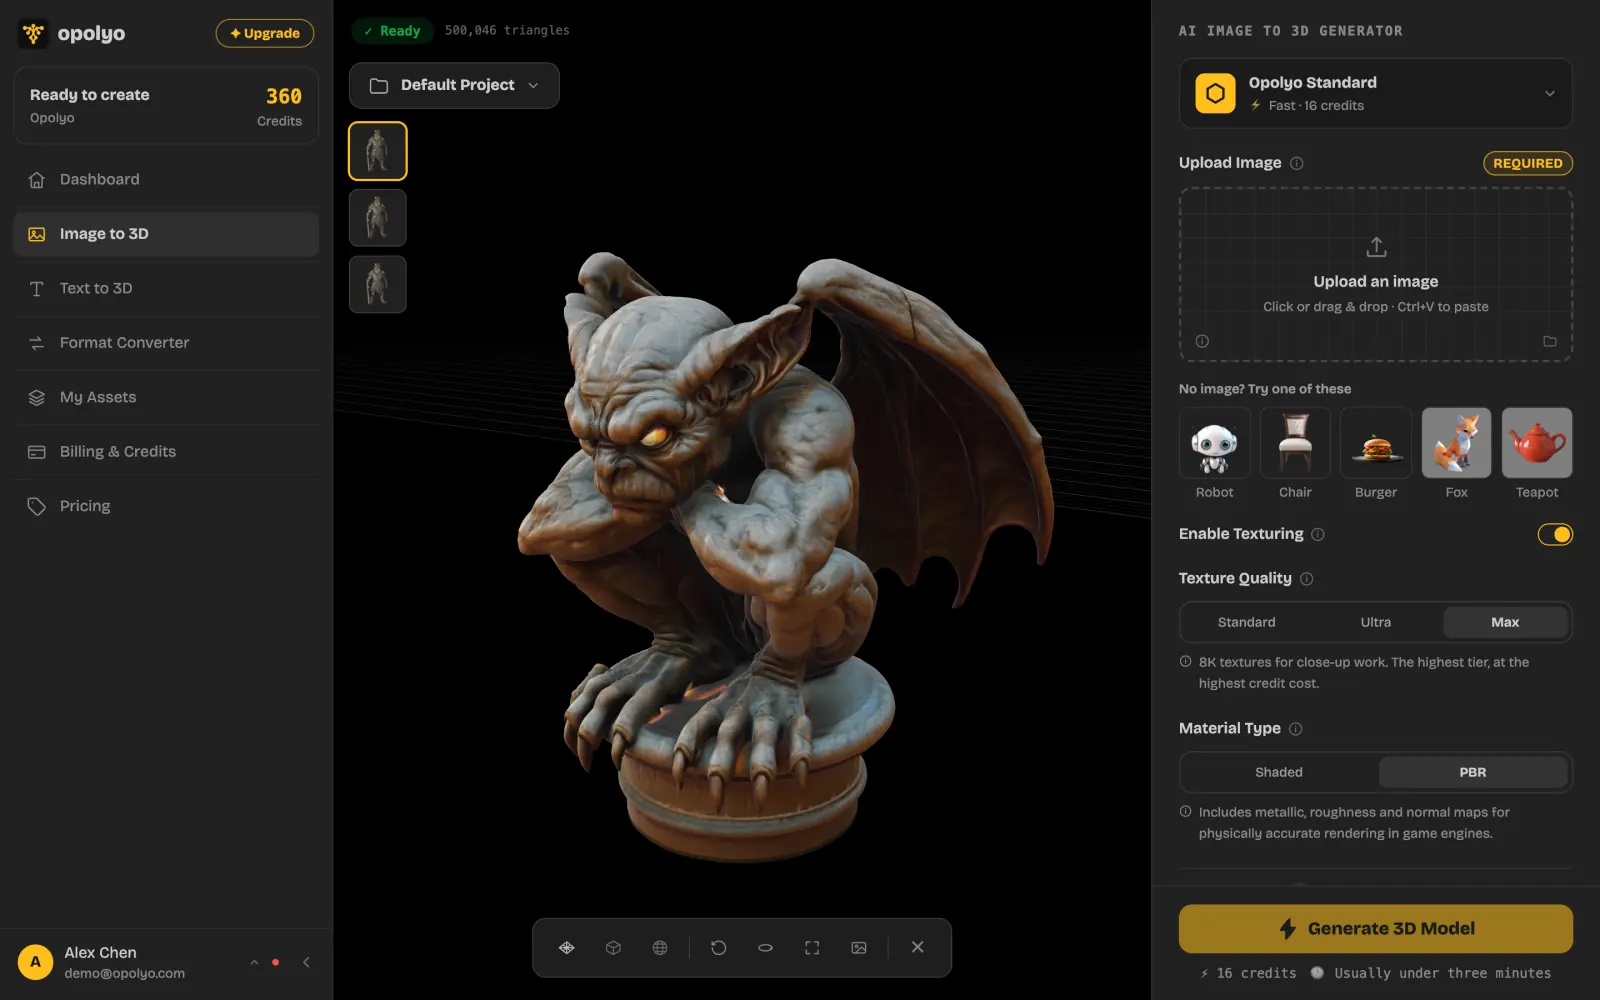
Review Enable Texturing, Texture Quality, Material Type, and the controls under Advanced. The credit total updates with priced selections.
Select Generate 3D Model. When generation finishes, rotate the result and inspect the silhouette, back, underside, and small parts.
Understand the generation options
What do the surface options control?
Enable Texturing adds color and surface textures. Turning it off produces raw geometry. Under Texture Quality, Standard is the base texture tier, Ultra uses the detailed tier for higher resolution textures, and Max uses the extreme tier for 8K textures. Material Type offers Shaded for basic color materials or PBR for metallic, roughness, and normal maps.
What do the geometry options control?
Polygon Count (Max Faces) sets the upper face limit from 500 to 2,000,000. Topology offers Triangle for general use and Quad for editing or animation workflows. A Triangle generation produces GLB, while selecting Quad produces FBX. Auto Size scales the model to real world dimensions.
Geometry Quality set to Detailed requests more geometric detail. Smart Low Poly reduces mesh complexity while preserving the overall form. Disassemble into Parts requests separate components instead of one combined object.
What do alignment, orientation, and seeds control?
Texture Alignment set to Original Image prioritizes visual fidelity to the source. Geometry prioritizes a clean mesh surface. Orientation set to Align to Image matches the source camera angle, while Default uses the standard orientation.
Model Seed and Texture Seed make reruns reproducible when the same settings are used. Leave either field at Random to create a new variation.
Calculate the credit cost
The base generation costs 7 credits. Priced options are added to that base, and add-ons can stack in the same generation.
| Generation setting | Added credit cost | What it changes |
|---|---|---|
| Base generation | 7 credits | Creates the model geometry. |
| Enable Texturing | +3 credits | Adds color and surface textures. |
| Texture Quality: Standard | +0 credits | Uses the standard texture tier. |
Texture Quality: Ultra (detailed) | +3 credits | Uses higher resolution textures. |
Texture Quality: Max (extreme) | +6 credits | Uses 8K textures. |
| Topology: Quad | +2 credits | Produces quad topology and an FBX result. |
| Geometry Quality: Detailed | +6 credits | Requests more geometric detail. |
| Smart Low Poly | +3 credits | Requests a lower complexity mesh. |
| Disassemble into Parts | +6 credits | Requests separate model components. |
The default selection costs exactly 16 credits: 7 credits for the base generation, 3 credits for Enable Texturing, and 6 credits for Texture Quality: Max. Turning texturing off costs 7 credits. Enabling texturing with Standard quality costs 10 credits.
Check the total before generating
The figure beside the Generate 3D Model button is the cost for the current combination of priced settings.
Review the result
What should you inspect before downloading?
Rotate the model through a full turn. Check the silhouette, inferred back, underside, thin features, and any spaces between parts. If a feature is unclear, use a source image that shows it more directly and generate again.
The browser viewport and direct STL or OBJ export are available for GLB results. Quad generations return FBX and can be handled through the workspace converter.