
Photo to 3D Print: How to Print a Photo
A photo can become one of four very different objects. Pick the wrong method and you get a flat plate when you wanted something you can hold.
You have a photo and a printer. There are four ways to get from the picture to a printed object, and they produce different things. One gives you a thin plate that shows the photo when you hold it up to a lamp. One gives you the picture raised out of a flat backing, like a coin. One needs the object in your hands already. One gives you a closed model you can turn around and look at from behind.
All four get called 'converting a photo to 3D', so a lot of first prints come off the bed as a surprise. This guide covers what each method produces, how to get an STL out of it, and what to check before you spend three hours of filament on it.
Four ways to turn a photo into a 3D print, and what each one hands you
The main difference between the four methods is how much of a three dimensional object each one contains. A photo holds one viewpoint. Everything past that viewpoint has to come from somewhere, and each method handles that differently.
Two of them do not try. A lithophane and a relief keep the picture flat and vary its thickness, so the print is a picture with depth. Both print well with almost no setup, and for a plaque or a lit panel that is exactly what you want.
The other two produce something with a back. A scan gets it by photographing the object from every side, so you need the object. A reconstruction infers the shape from the one view you have. The table below shows what each one puts on your print bed.
What each method puts on the print bed
| Method | What you get | What it needs | Print time |
|---|---|---|---|
| Lithophane | A flat translucent plate. The image appears when light passes through it | One photo | Short, it is a thin plate |
| Relief or heightmap | The picture raised out of a flat back. No sides, no reverse | One photo, ideally high contrast | Short to medium |
| Photogrammetry scan | A model of a real object, accurate to what you photographed | The object in your hands, and dozens of photos of it | Medium to long |
| AI reconstruction | A closed model with a back, sides and depth, textured | One photo | Medium to long |
A lithophane: a flat plate that only becomes a picture when it is lit
A lithophane is an old idea that 3D printing revived. You print a thin plate whose thickness follows the brightness of the image: thick where the photo is dark, thin where it is light. Held up to a window or backed with an LED panel, the light coming through shows the picture in greyscale.
It is the most forgiving option here. A phone snapshot works, there is nothing to model or clean up, and free generators have existed for years, so the whole job is upload, set a size, download the STL. Printed in white PLA with plenty of top and bottom layers, the result looks very good.
It is not an object, though. A lithophane of your dog is a rectangle, and edge on it is four millimetres of plastic. If you wanted a small figure of the dog, this is the wrong method, and no setting changes that.
A relief: the picture pushed out of a flat back
A relief also maps brightness to height, but the shape is raised off a flat backing, the way a face sits on a coin. Most tools that call themselves an image to STL converter do this, and that is why most of them ask you for a logo.
Line art, logos, lettering and silhouettes come out well because the source already reads as a shape. Photographs come out as a lumpy landscape: the converter cannot tell that a bright shirt is not closer to the camera than a dark face.
Turn a relief over and it is flat. The method never had any information about the back. That is fine for a plaque, a stamp, a keyring or anything that hangs on a wall or sits on a surface.
A photogrammetry scan: when you have the object, not just the picture
Photogrammetry builds a model out of many photographs by finding the same feature in several of them and working out where it sits in space. It is how the scanned props in games and the terrain models in surveying are made.
It is the most accurate method here because nothing is inferred: every surface in the result was photographed. If you need a copy of a specific real object, down to the dent in it, this is the method.
The inputs are the catch. You need the object in front of you, forty or more shots all the way around it, consistent lighting and a surface with enough texture for the software to find features on. A single photo from the internet cannot be turned into a photogrammetry scan, so it is out for most people asking this question.
An AI reconstruction: a closed model with a real back
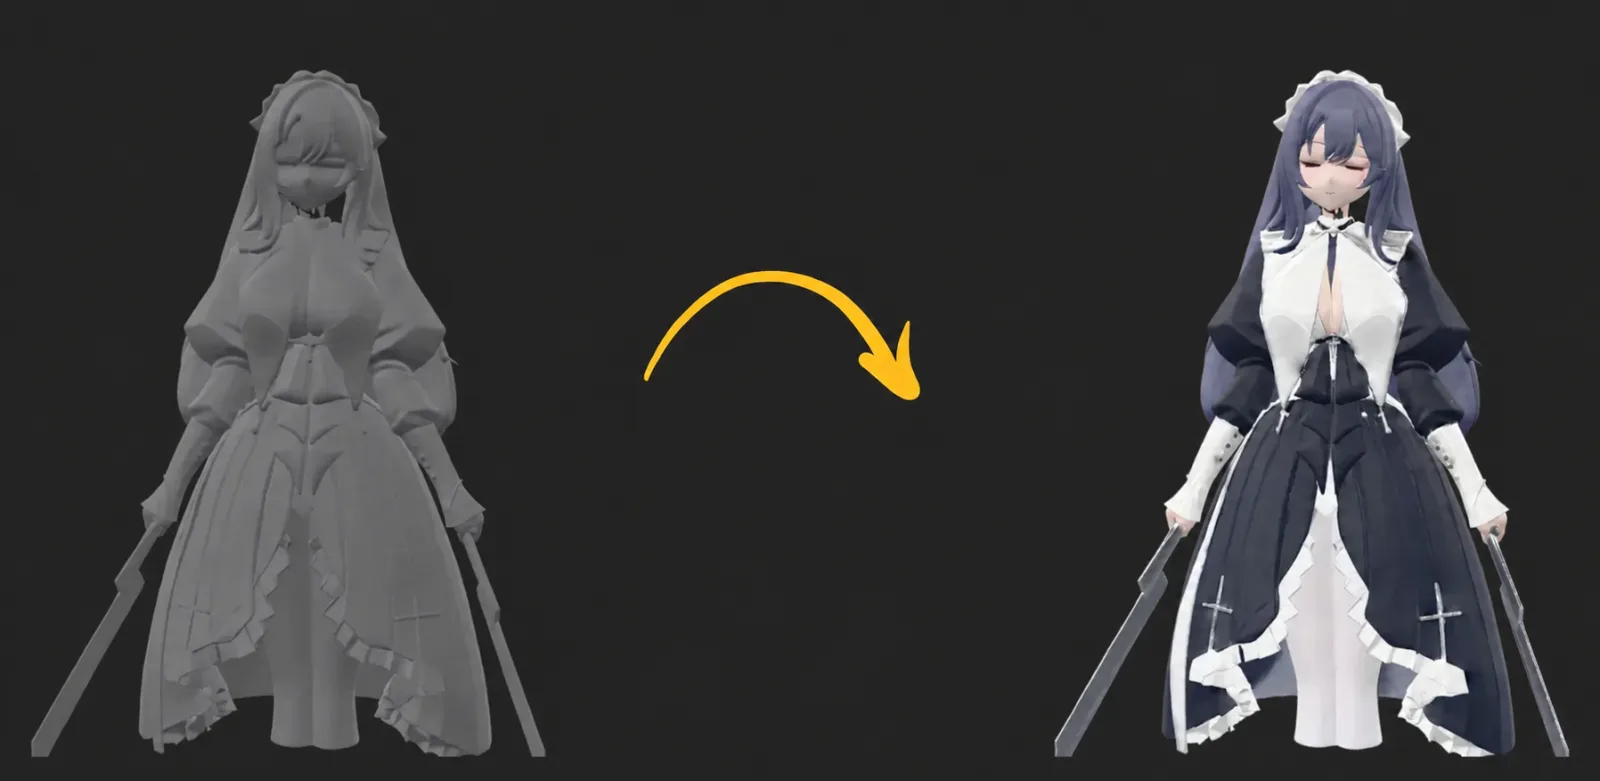
The fourth method takes one image and produces a complete model as a closed mesh, with textures. It does not measure the shape the way photogrammetry does. It recognises what the object is and builds the whole of it from what it has learned about how objects of that kind are shaped.
It is the only one of the four that turns a single photograph into something you can rotate. A phone snapshot of a toy gives you a model of the toy with a back on it, in a few minutes, with no modelling and no rig of forty photographs.
It also fits how most people arrive at this question: one picture of something you do not own, and you want a small object of it. The other three cannot do that.
Converting the picture into an STL file
STL is the format almost every slicer opens, so whichever method you picked, STL is where you end up. It stores one thing: a surface made of triangles. No colour, no materials, no units, no scene.
So the conversion to STL is rarely the hard part. What decides whether the file is printable is what went into the converter and what the converter thought it was looking at.
What a converter needs from your photo
One subject, clearly separated from its background. Every method here does better with the same kind of photo: the object roughly filling the frame, lit evenly, against a background that is plain and a different colour from the subject.
Resolution is a smaller factor than noise. A clean 1000 pixel image beats a noisy 4000 pixel one, because noise reads as texture and texture reads as shape. Heavy JPEG artefacts, motion blur or a strong shadow across the subject should be fixed before you convert anything.
PNG, JPG, and what the file type changes
For reliefs and lithophanes the file type matters. PNG is lossless and can carry transparency: a PNG with the background cut out tells the converter exactly where the subject ends, and that is the single biggest improvement you can make to a relief. JPG has no transparency, and its compression softens the edges the converter is looking for.
For reconstruction the file type matters much less, because the model is identifying an object, not reading brightness values. JPG, PNG and WEBP all work. A cut out background still helps, but a clean photo on a plain surface is enough.
For a logo or line art, export a PNG with a transparent background and hard edges, and skip any smoothing your editor offers. Anything you soften, the converter has to guess at.
When the tool hands you OBJ or GLB instead
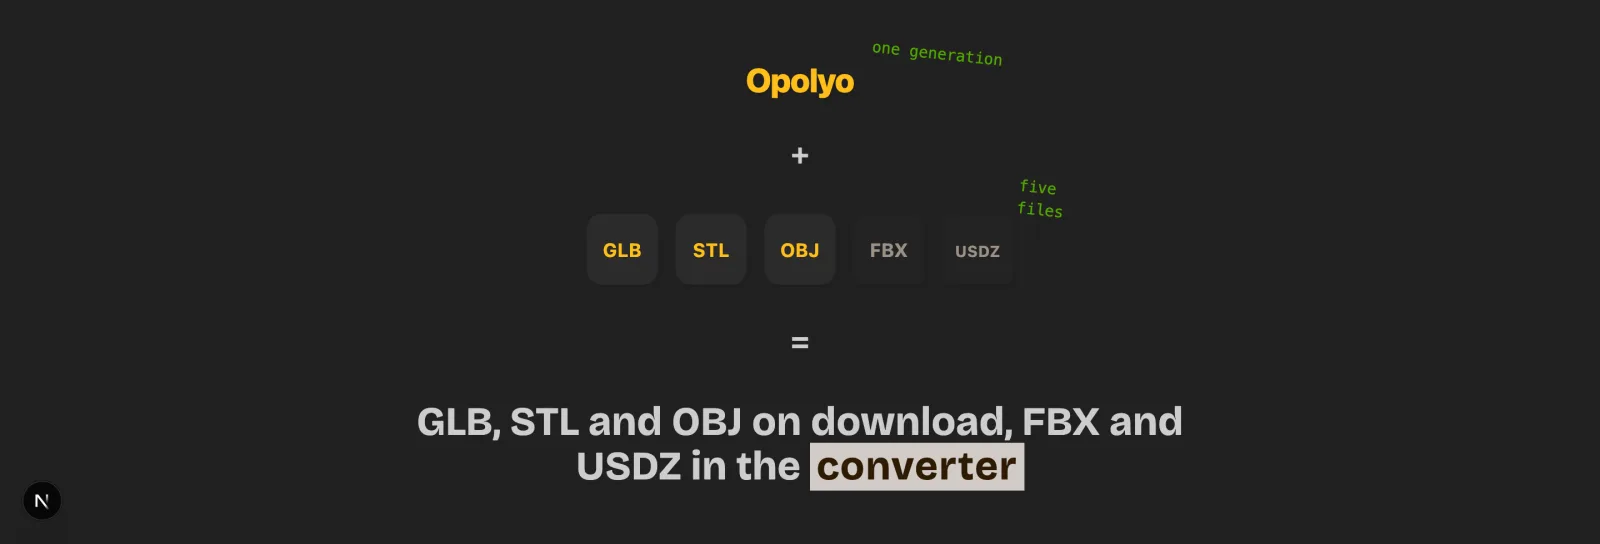
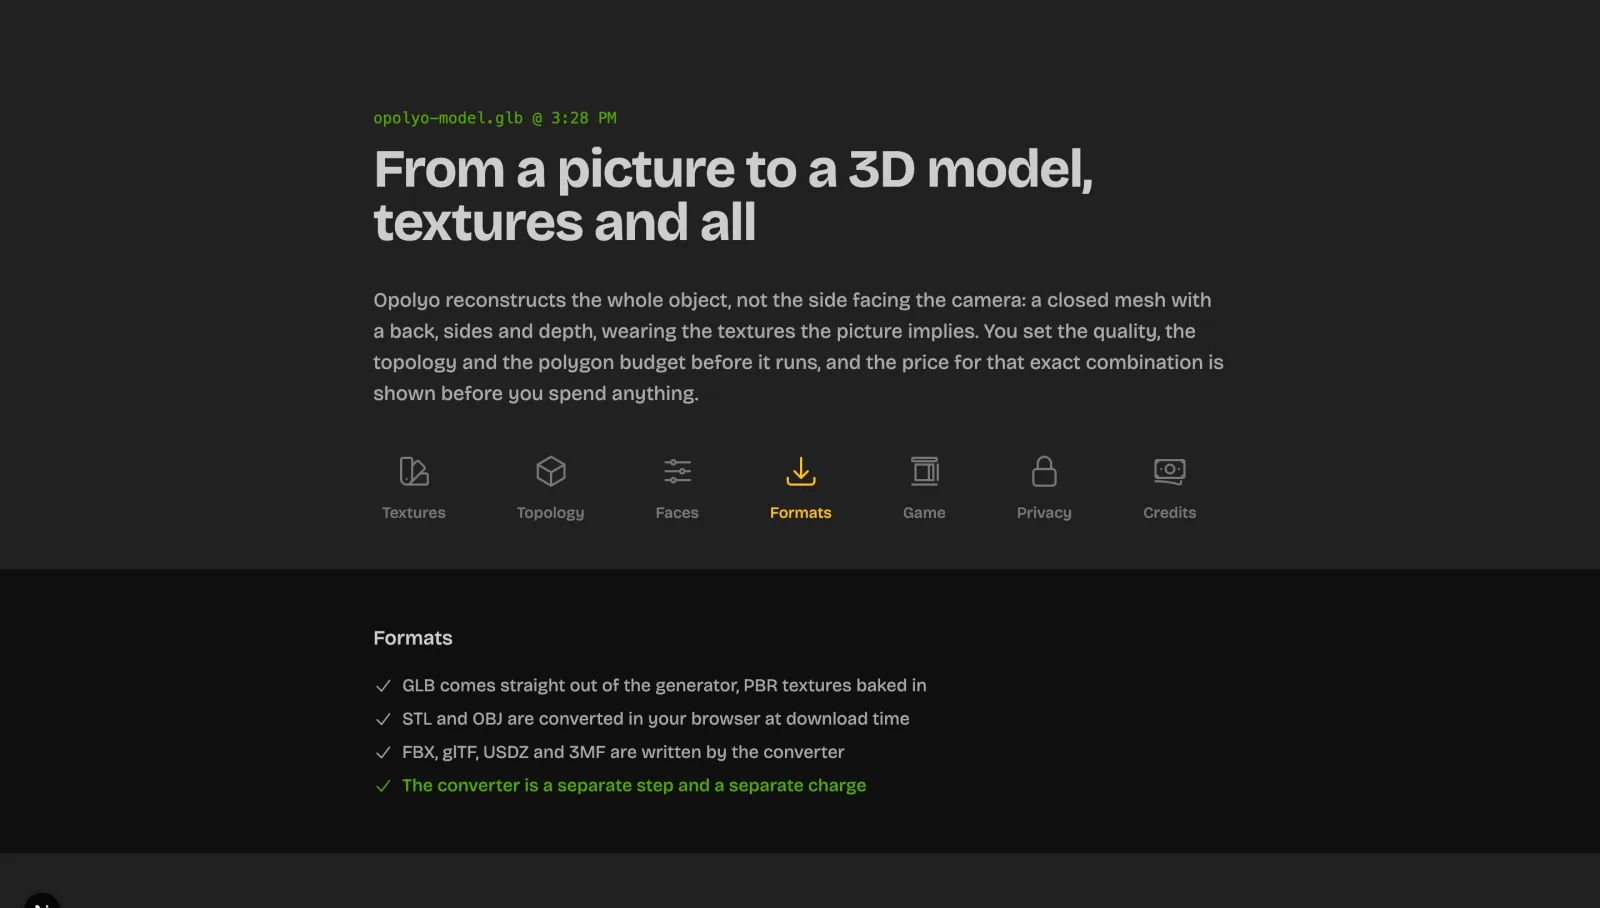
Reconstruction tools usually produce GLB, because GLB carries the mesh and its textures in one file and STL cannot carry textures. For a single colour print that difference costs you nothing, and the conversion is mechanical: the triangles are already there, and exporting STL drops what the printer was never going to use.
OBJ sits in between. It holds geometry and can reference a material file, and most slicers read it. STL is still the safer choice if you are handing the file to someone else or to a print service.
Convert once, at the end. Keep the GLB, since that is the version with the textures, and export STL from it when you are ready to slice. If you later want the model in a game engine, you will need that GLB.
Colour, and why an STL cannot carry it
An STL file has no colour field. The format stores triangles and nothing else. Any colour described as being 'in an STL' is either a non standard extension that most software ignores, or the slicer showing a preview colour it chose itself.
On a single extruder printer that does not matter, since the model comes out in whatever filament is loaded. For multi colour printing you either paint the model in the slicer, which works for flat regions and badly for photographic detail, or you keep the textured GLB and use a workflow built around it.
In practice, pick one filament that suits the object. A reconstruction printed in one colour reads as a sculpture of the thing, and that usually looks better than a rough approximation of its real colours.
The free ways to convert an image to STL
Two of the four methods have been free for years, with no account, no watermark and no credit counter.
Lithophane generators run in the browser. Upload, choose a shape, set the dimensions, download the STL. For a picture you intend to light, this is the right tool.
Relief conversion is free too, either through one of the many image to STL converters online or through Blender, where a displacement modifier driven by your image does the same job with more control. Blender costs nothing and runs everywhere; the price is an afternoon learning where the buttons are.
Photogrammetry has free options as well. The real cost there is owning the object and taking forty usable photographs of it.
Free tiers, and what they hold back
Reconstruction is where free gets complicated, because it costs real money to run. Every reconstruction is time on a GPU, so a tool offering it free is either giving you a limited number of runs or recovering the cost somewhere else.
The credit allowance is easy to compare. The licence and the export are where to look. A free tier commonly caps the resolution or the mesh quality, publishes your results to a public gallery, or grants a licence that does not cover selling what you make. None of that shows up until you have already made something with it.
Read the export formats and the commercial terms before the credit count. If you plan to sell the result or need it at full quality, those two lines decide whether the tool is usable.
Free tools against paid ones, for a photo you want as an object
For lithophanes and reliefs the free tools are the answer. The comparison only matters when you want a physical object of the subject.
Free lithophane and relief tools
Browser generators and Blender's displacement modifier.
- Genuinely free, with no account and no credit counter
- Fast, and forgiving about photo quality
- Perfect for anything that hangs, lights up or sits flat
- The result is a picture with depth, not an object
- Flat back, no sides, nothing to turn around
- Photographs need heavy preparation to read as shape
Best for: Lithophanes, plaques, coins, keyrings, logos
Opolyo
One image in, a closed textured mesh out, usually under three minutes.
- A closed mesh you can turn around, from a single photo
- Triangle or quad topology and a face limit you set, from 500 to 2,000,000
- GLB with PBR textures baked in, STL and OBJ converted in the browser at download
- Private by default, commercial licence included, credits returned if a generation fails
- Paid: an image generation with standard textures is 10 credits
- Needs an account and credits before the first run
- More than you need if a lithophane is what you wanted
Best for: Anything you want to hold, turn around, paint or sell
Our take
Match the tool to the object. If the photo is going on a wall or in front of a light, the free route is the right one. If you want the thing in the photo as a physical object, reconstruction is the only method that produces one.
Getting a model that holds up from every angle
A reconstruction is only as good as the photo you hand it. The difference between a good result and a mediocre one is almost always the photograph. The settings come second.
The photo does most of the work
Give the model as much of the object as you can in one frame. A three quarter view, where the front and one side are both visible, carries far more shape information than a straight on shot.
Keep the whole subject in frame with a little room around it. A cropped edge is a surface the model has to invent, and stepping back half a metre avoids that.
Angle, lighting and background
Even, soft light beats dramatic light. A hard shadow across the subject reads as a change in shape, so an object lit by a window on an overcast day converts better than the same object under a spotlight.
Put the subject against a plain background of a different colour. The model separates subject from background first, and a patterned tablecloth or a wall the same shade as the object makes that harder.
Avoid reflections and glass. A surface the camera cannot see is a surface with no information behind it, and that is where a reconstruction has to guess the most.
When to reshoot instead of regenerate
If the result is wrong in a way you can name, and the cause is visible in the photo, take another photo. A missing handle, a face in shadow, a limb cropped at the frame edge: none of those are fixed by running the same picture with different settings.
Change settings when the shape is right and the finish is not. Texture quality, polygon budget and topology change how the model is built out; they do not change what the model understood the object to be.
Making the STL something a printer will accept
Slicers are stricter than viewers. A model can look perfect on screen and still refuse to slice, because the slicer has to answer a question the viewer never asks: which side of this surface is inside?
Watertight, and why a model that looks fine fails
A watertight mesh has no holes in its surface, so it encloses a definite volume. That is what lets a slicer decide where to put walls and infill. A mesh with a gap has no inside, and the slicer either produces nothing or produces something with a wall missing.
Reconstruction produces closed meshes, so it slices without a repair step. Reliefs are usually closed too, since the flat backing seals them. Photogrammetry scans often are not: any surface the camera never saw comes back as a hole, and the underside is usually one of them.
If a file will not slice, run it through a mesh repair tool before changing print settings. Most slicers have one built in, and it fixes most cases.
Wall thickness and detail that survives the nozzle
A standard nozzle lays down a line about 0.4 mm wide. Any detail thinner than that is skipped, not printed smaller, so fine engraving and thin whiskers vanish while everything around them comes out fine.
Scale up, or simplify. A model that is unprintable at 40 mm is often fine at 100 mm, and enlarging costs only filament and time. Where you cannot scale up, thicken the thin parts before slicing.
Watch for thin walls in reliefs in particular. A relief generated from a dark photograph can end up under a millimetre thick across large areas, which prints as something you can see through and snap with a thumb.
Scale, because an STL carries no units
The format stores numbers with no unit attached. Your slicer assumes millimetres, and most tools export on that assumption, but a file from a program working in inches or metres arrives either tiny or enormous.
Set the size once, in the slicer, against a dimension you know: the height of the object, the width of the base. Then check it against the bed before you slice, because a model 30 times too large is easy to miss when the preview scales to fit.
From STL to a printed object
Your printer does not read STL. It reads gcode, a list of instructions telling it where to move and how much to extrude. Turning one into the other is slicing, the last step between the file and the object.
Open the STL in a slicer
Cura, PrusaSlicer, Bambu Studio and Orca all read STL directly and all are free. Use whichever one came with your printer, since it will already know the machine's dimensions and nozzle.
Set the scale and place it on the bed
Size the model against a real dimension, then drop it flat. The slicer will tell you if it is outside the build volume.
Orient it so the detail faces up
Layer lines are visible on sloped surfaces and invisible on flat ones. Turn the model so its most detailed face points up or sits vertical, and so the largest flat area rests on the bed.
Add supports if it overhangs
Anything overhanging more than about 45 degrees needs something under it. Tree supports handle organic shapes with less scarring than the grid kind, which matters on a reconstruction of a figure.
Slice and check the preview
The preview shows what will be built, layer by layer. This is where a missing wall or a detail too thin to print shows up, while it still costs nothing to fix.
Export the gcode and print
Send it to the printer over its network or on a card. For a first attempt at a new model, print it small and fast: a rough 40 mm test tells you whether the shape works before you commit six hours to it at full size.
The settings that matter for a photo-derived model
Layer height decides how much of the surface detail survives. For a reconstruction of anything organic, 0.12 mm to 0.16 mm is a good balance; going finer mostly adds hours. For a lithophane the layer height is the image resolution, so go as fine as your printer manages.
Infill barely matters for decorative prints. Ten to fifteen percent is plenty; the walls do the visible work. Lithophanes are the exception: they want zero infill and a lot of top and bottom layers, since the thickness is the image.
Print speed costs you more quality than any other single setting on detailed models. Slowing the outer wall alone, which most slicers expose as its own setting, gets you most of the improvement without doubling the print time.
Photo to 3D Print FAQ
Yes, and the method decides what you get. A lithophane or a relief turns the photo into a flat object with varying thickness. An AI reconstruction turns it into a closed model you can turn around, which is the one to pick if you want an object.
A lithophane is a flat plate. It shows the picture when light passes through it, and edge on it is a few millimetres of plastic. A 3D model of the subject has volume: you can turn it around and see the back.
You can, and the method decides how it reads. A relief gives you the face on a plaque, like a coin. A reconstruction gives you a head you can turn around. For a face, use a three quarter view; it carries far more of the shape than a straight on portrait.
One, for a lithophane, a relief or an AI reconstruction. Photogrammetry wants forty or more, taken all the way around the object, so it only applies when you physically have the thing.
Yes, for lithophanes and reliefs. Browser based lithophane generators are free with no account, and Blender's displacement modifier does relief conversion at no cost.
Reconstruction is where free gets complicated, because each run is GPU time. Tools offering it free limit the number, the quality, the export or the licence, so check the commercial terms and the export formats before the credit count.
Opolyo is paid from the first generation. The price of your exact settings is shown before you run anything, and a generation that fails puts its credits back.
An image generation with standard textures is 10 credits. Ultra or Max textures and quad topology cost more, and the polygon budget does not change the price. The figure updates as you change the settings.
STL, unless you have a reason not to. Every slicer opens it, and a single colour print needs nothing beyond the geometry. Keep the GLB as well if the tool gives you one; that is the copy with the textures.
The format has no colour field. It stores triangles. Colour comes from the textured file, usually GLB, and from the filament you load.
Open it in a slicer such as Cura, PrusaSlicer, Bambu Studio or Orca, set the scale and orientation, then slice. The slicer writes the gcode your printer actually reads, and all of them are free.
Usually it is not watertight: there is a hole in the surface, so the slicer cannot tell inside from outside. Run it through the repair tool built into your slicer before changing any print settings.
Anything thinner than the nozzle width, about 0.4 mm on a standard hot end, is skipped. Print it larger, or thicken the thin areas before slicing.
With Opolyo, yes: models generated on a paid plan or a credit pack come with a commercial licence that covers client work and products you sell. With any other tool, read its licence before you list anything; free tiers often exclude commercial use.
Sources and References
- STL (file format), Wikipedia (accessed 2026-08-19)
- Lithophane, Wikipedia (accessed 2026-08-19)
- Photogrammetry, Wikipedia (accessed 2026-08-19)
- Displace Modifier, Blender Manual (accessed 2026-08-19)
Try it on your own photo
Editorial, Opolyo
We build Opolyo and we run everything we write about here, on the same plans and the same credits as everyone else.
Turn your photo into something you can hold
Upload one picture and download a closed, textured mesh a couple of minutes later.