
Image to STL Converter
Two ways from a picture to a printable STL. The relief converter on the right runs entirely in your browser, with no account. AI reconstruction builds a solid model with a real back and sides, downloadable as STL, GLB or OBJ.
Free · no account · nothing uploaded
Free, no account. Your image is read in this browser tab and never uploaded.
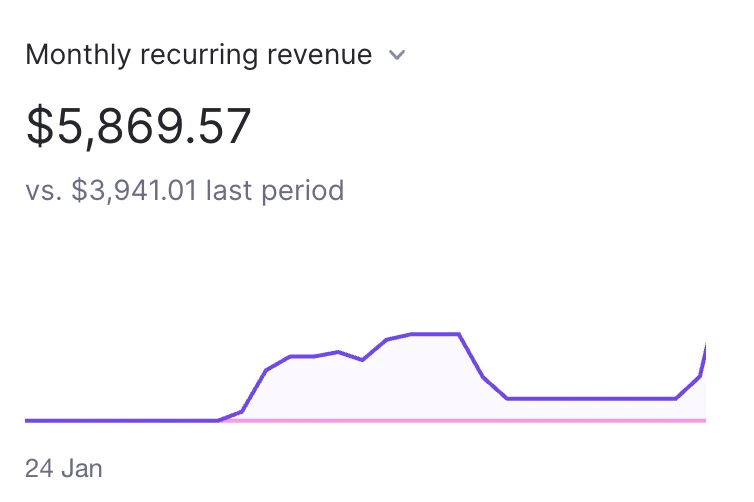
Without Opolyo I might have never launched my SaaS and I would still be at $0 MRR.

Ryan Carter
Convert an Image to an STL File
Convert an image to an STL file and you have something a printer can build. Six things people print from one upload, three of them from the relief converter.
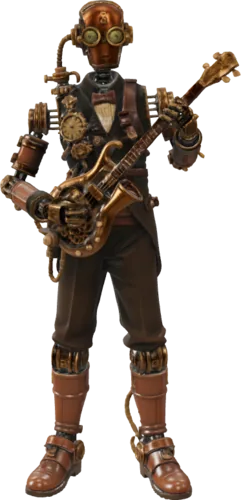
Figurines and keepsakes
One photo becomes a solid figure with sides and a back, ready to print and hold.
Convert to STL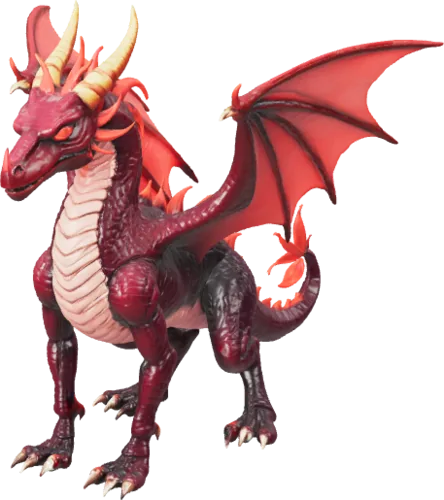
Miniatures for the table
Characters and monsters at 28 mm, sliced straight from the download.
Image to 3D model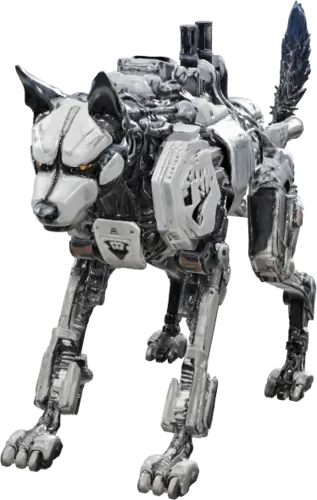
Parts and prototypes
A product shot becomes a mesh you can scale, measure and print.
AI image to 3D model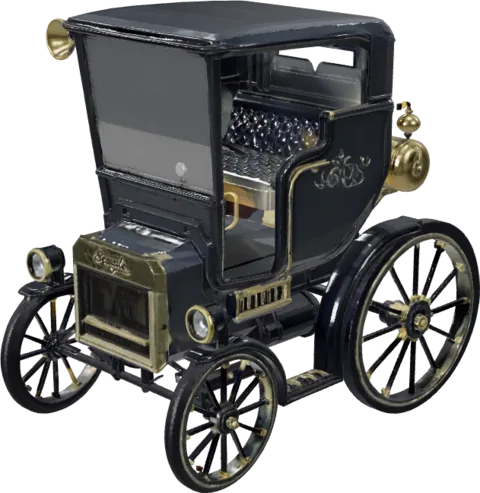
Logos, badges and stamps
Hard edges extrude cleanly, and a transparent PNG keeps its silhouette.
Extrude it free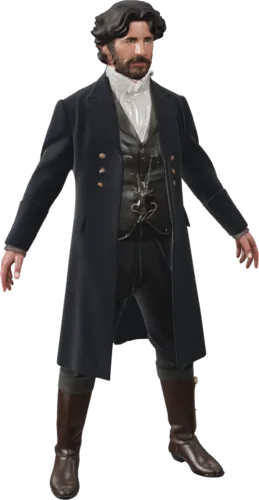
Lithophanes
Invert the relief and print it in translucent filament. The photo appears when light shines through.
Free relief converter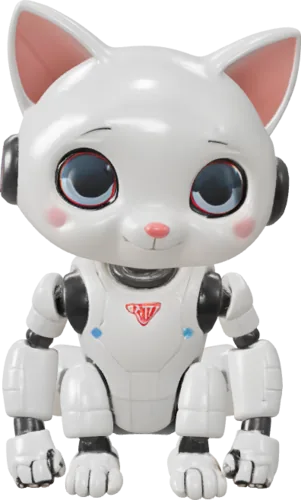
Wall art and reliefs
Brightness becomes height and the plate prints flat, no supports.
Use the converter aboveRelief or Solid: What an Image to STL Converter Gives You
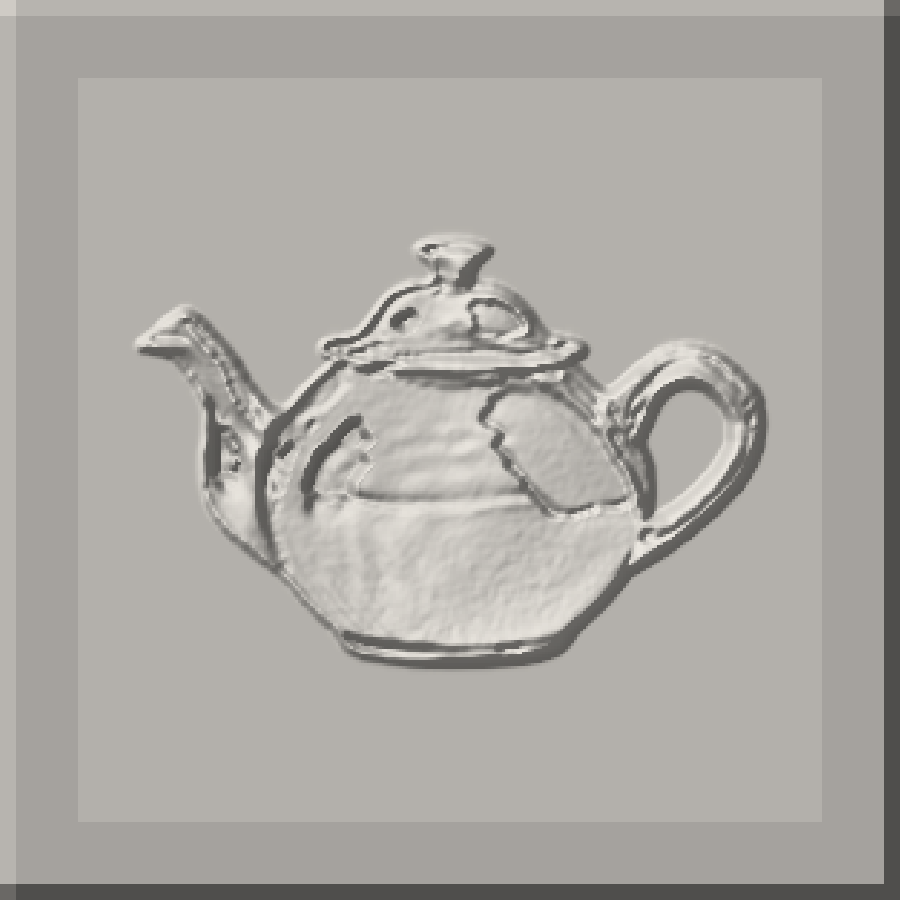
- A plate with your image raised out of the surface, built by the converter above on your own machine, so the picture is never uploaded. It prints flat on the bed with no supports, which suits wall art, stamps, badges and lithophanes. The back is flat and the height comes from brightness, so treat it as a raised picture.
- A closed object with sides, a back and an underside, reconstructed from one photo. You set the face budget before the run, and a triangle generation also downloads as GLB with full textures. This is the paid route, run in the image to 3D model workspace, and the STL comes from the same generation.
FREE CONVERTER
Free Image to STL in Your Browser
The converter above, in three steps. Your picture never leaves the tab, and there is no account and no cap.
Upload an image
Drop in a photo, a logo or a sketch. Transparent PNG areas are read as background.
JPG, PNG or WEBP up to 20 MB
Pick Relief or Extrude
Relief turns brightness into height, for photos. Extrude cuts hard shapes at a threshold, for logos and silhouettes.
No account, no cap
Download the STL
Dimensions, triangle count and file size are shown before you press the button.
Binary STL, in millimetres
THE PAID HALF
Image to STL with AI Reconstruction
A relief is a raised picture. When you need the object itself, AI reconstruction infers the geometry the photo only shows one side of and returns a closed mesh with volume, sides and a back.
You choose a face budget from 500 to 2,000,000 and triangle or quad topology before generating. Triangle runs come back as GLB with full PBR textures and download as STL in your browser; quad runs come back as FBX and go through the workspace converter for STL. This route runs on GPU hardware and uses credits.
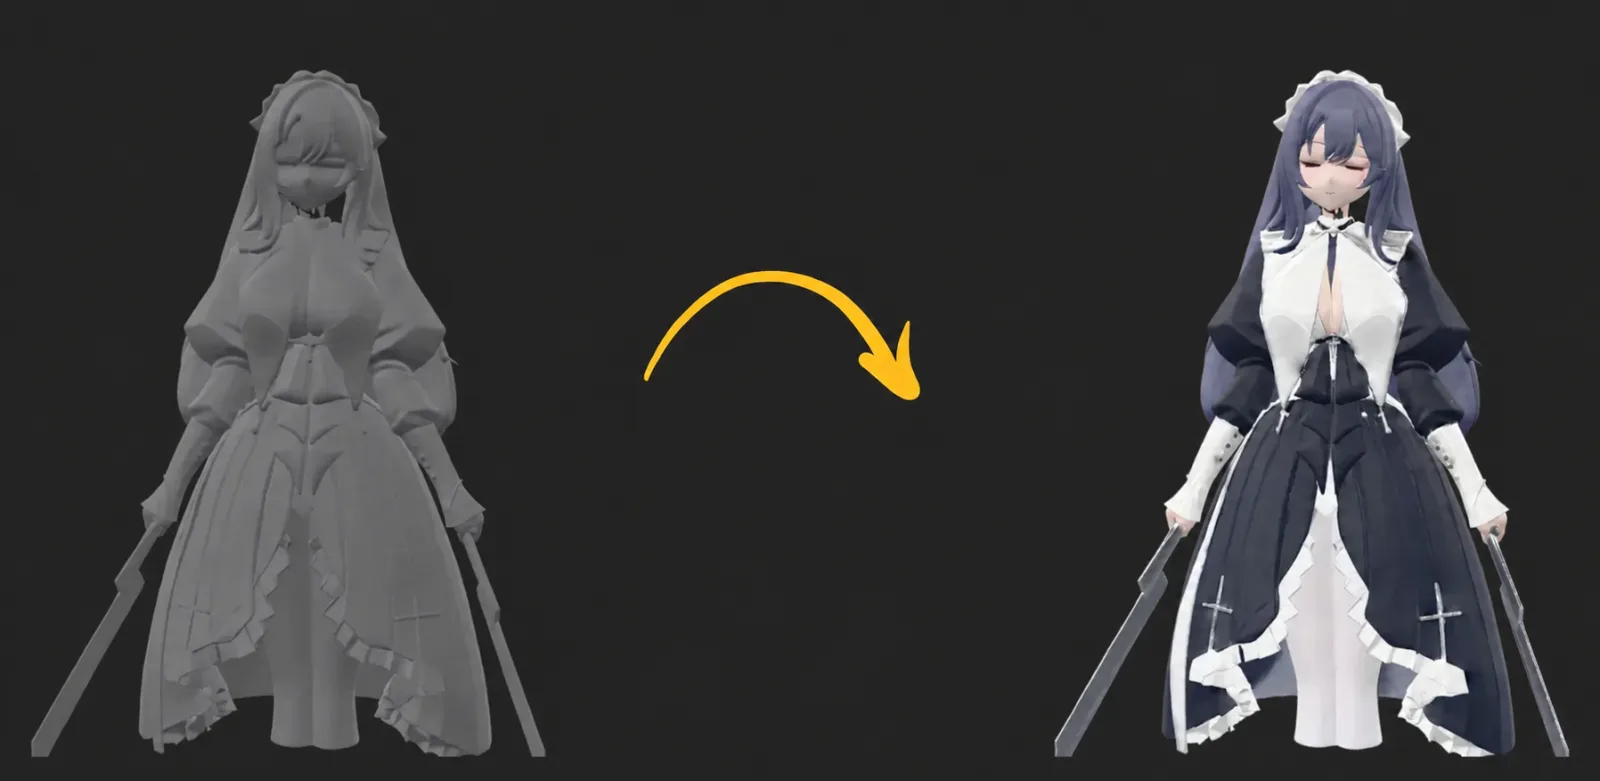
opolyo-model.glb @ in about two minutes
Which Image Formats Convert to STL
JPG to STL
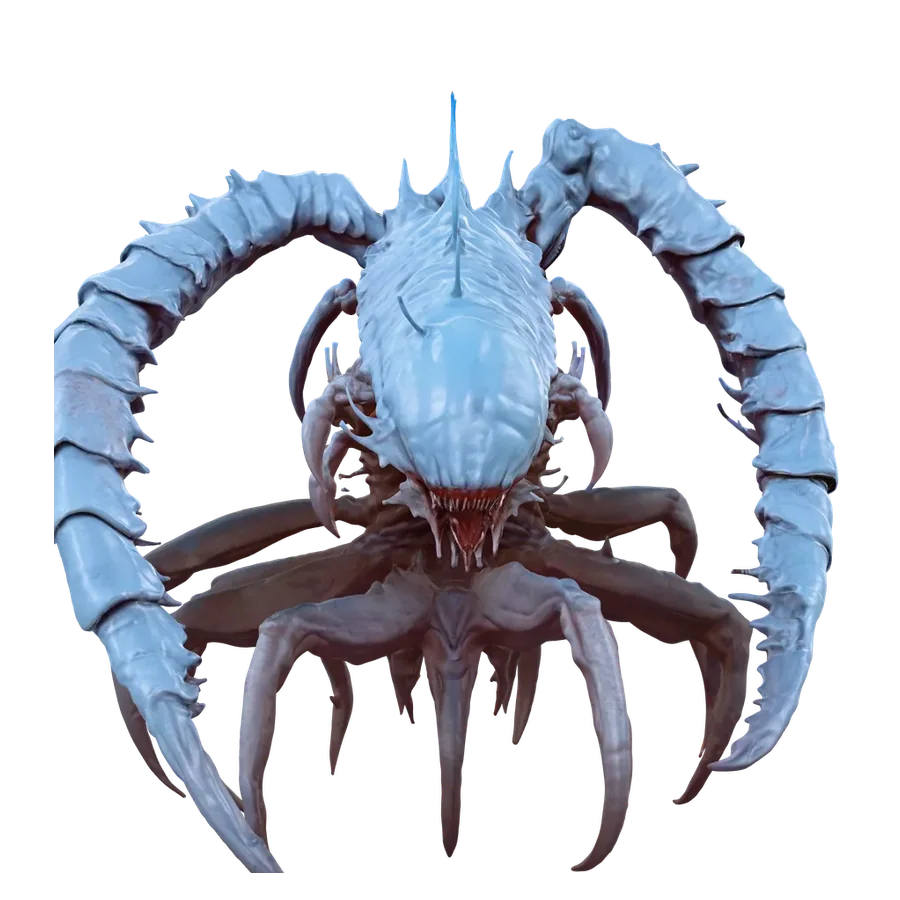
The usual format for photos, which both Relief mode and the AI path handle well. JPG compression adds faint blocky noise that a relief will raise into texture, so if a photo converts lumpy, start from a cleaner original.
PNG to STL
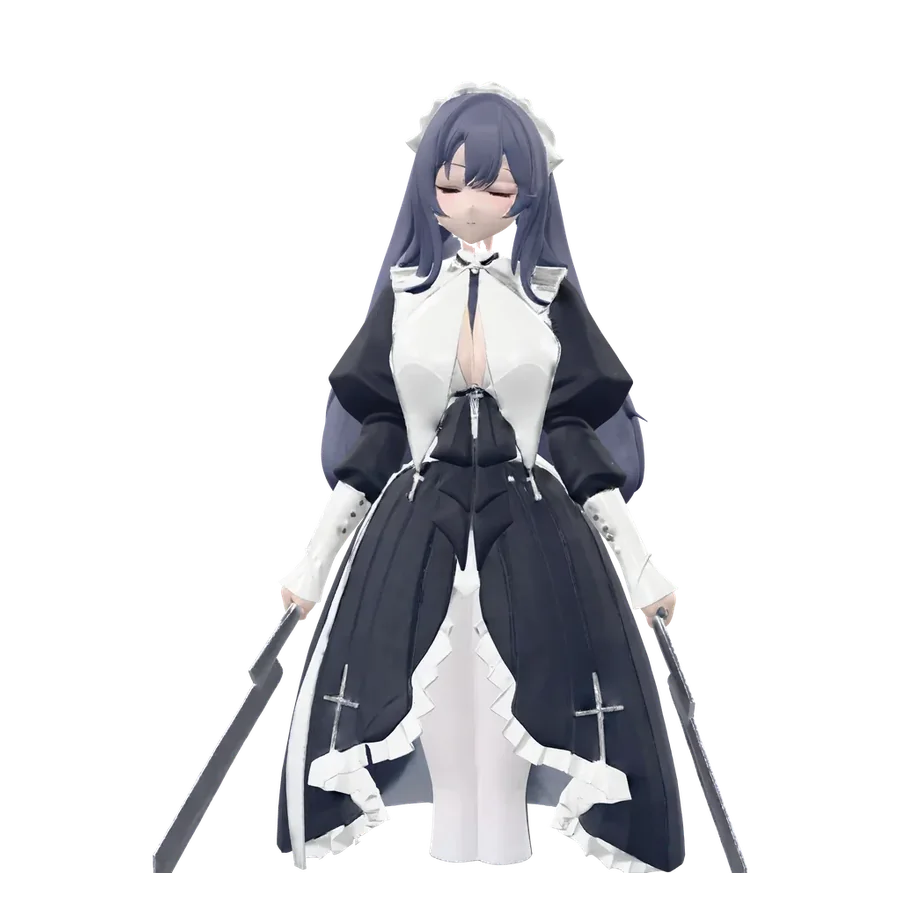
The right input for logos, icons and line art, because PNG keeps hard edges sharp. Extrude mode is built for this kind of file: a threshold cuts the shape out and raises it in one step.
WEBP
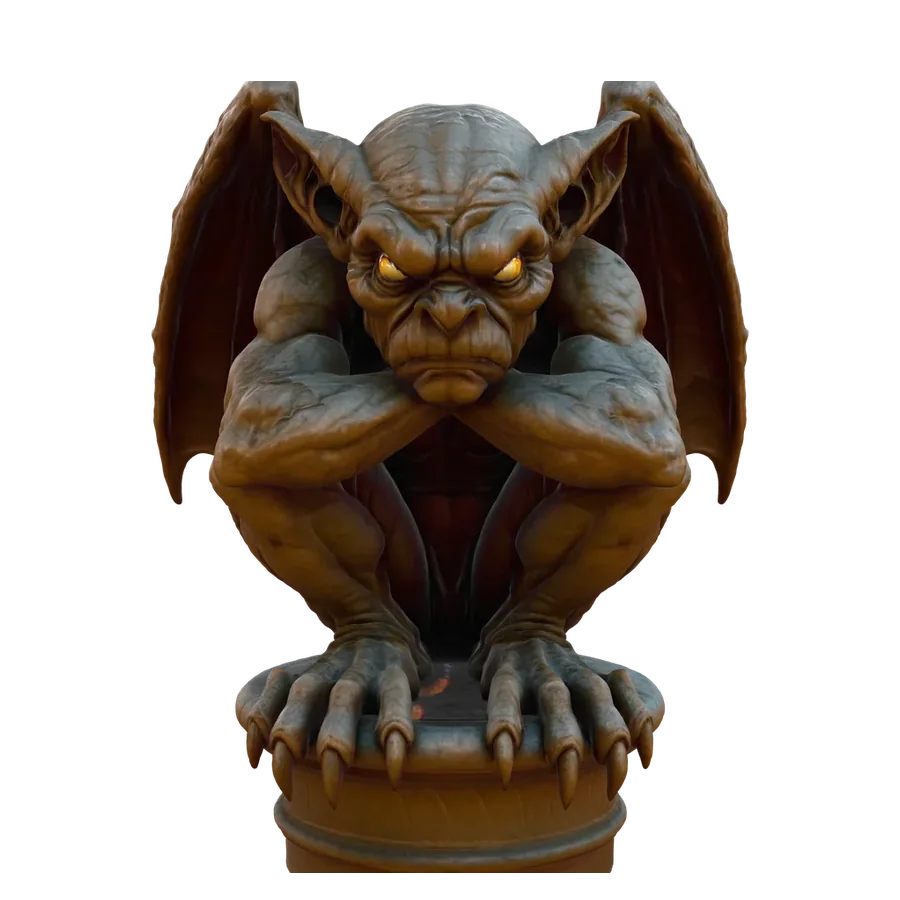
Accepted on both paths, same as JPG and PNG. Phones and image editors export it more and more, so drop the file in as it is.
Photos
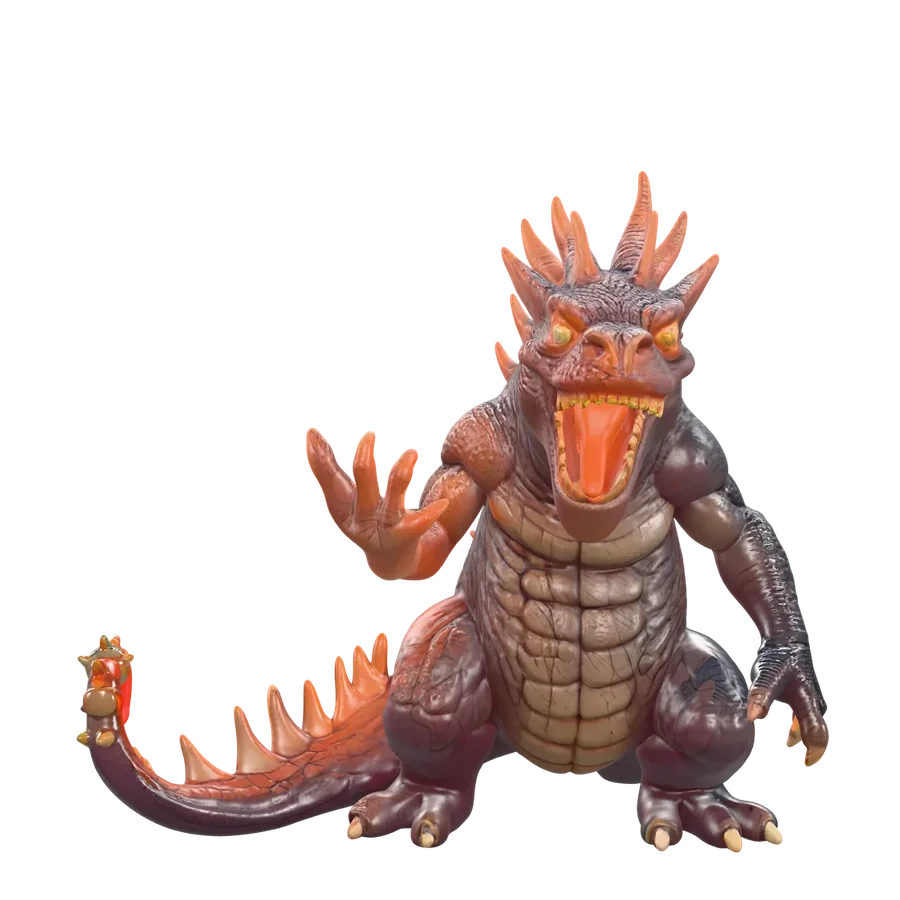
For a relief, contrast is what becomes height, so a flat, evenly lit image produces a flat, even plate. For AI reconstruction, use one clearly visible object on a clean background, with side lighting that shows the form.
Transparency
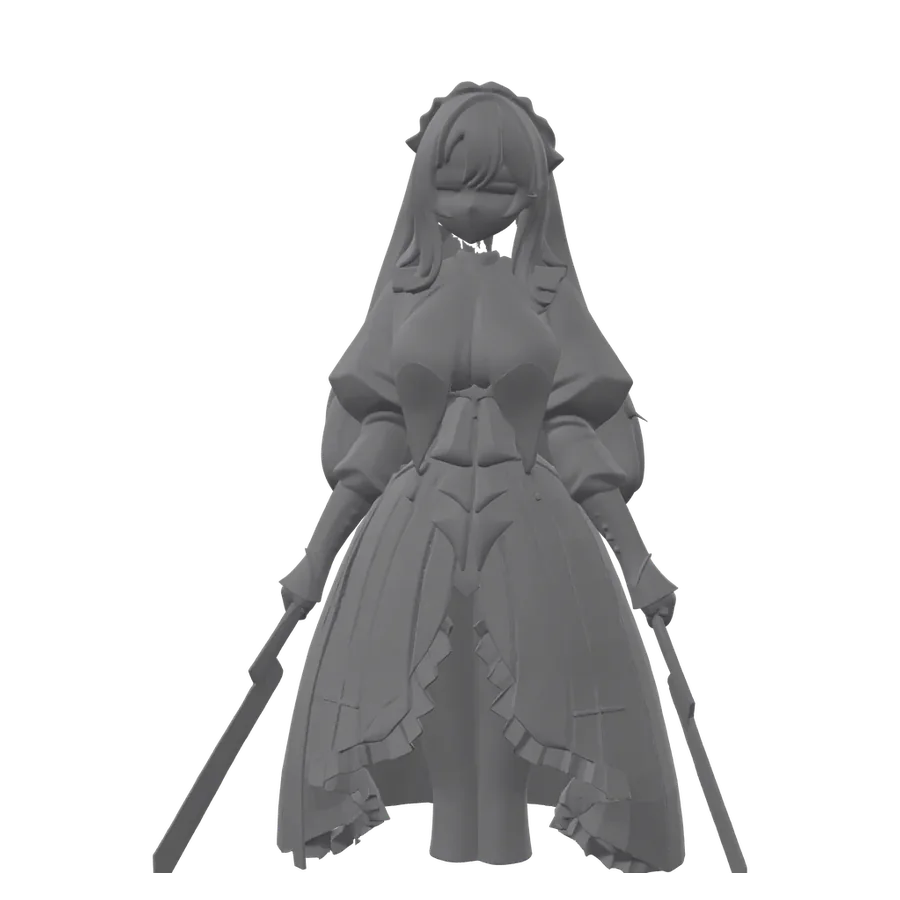
Fully transparent pixels are read as background. A transparent-background logo extrudes as the logo alone, without a dark slab behind it.
Size limits
Up to 20 MB on the relief converter and 10 MB on the AI generator. Resolution beyond the detail level you pick is averaged away, so a sharp 2,000 pixel image is plenty.
BUILT FOR THE PRINTER
Picture to STL for 3D Printing
Converting a picture to STL is about the print, so the output is built for the printer. The relief converter always closes the mesh: a base plate, four walls and a sealed top, with the base thickness you set so it sits flat on the bed.
Height is capped by your relief setting, so nothing comes out as an unprintable spike. A family photo at Draft detail and 100 mm wide slices in seconds and prints in a couple of hours.
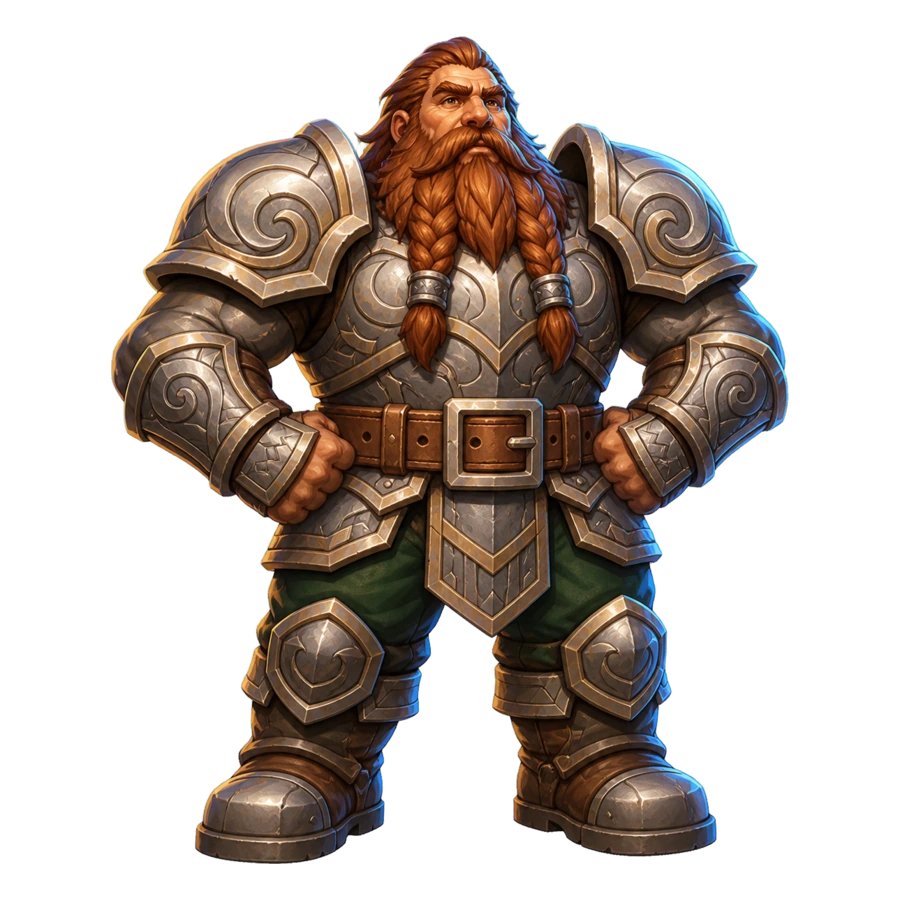
one generation


three files
The right file for the printer, the engine and the handoff
SEE FOR YOURSELF
STL-ready models you can spin right here
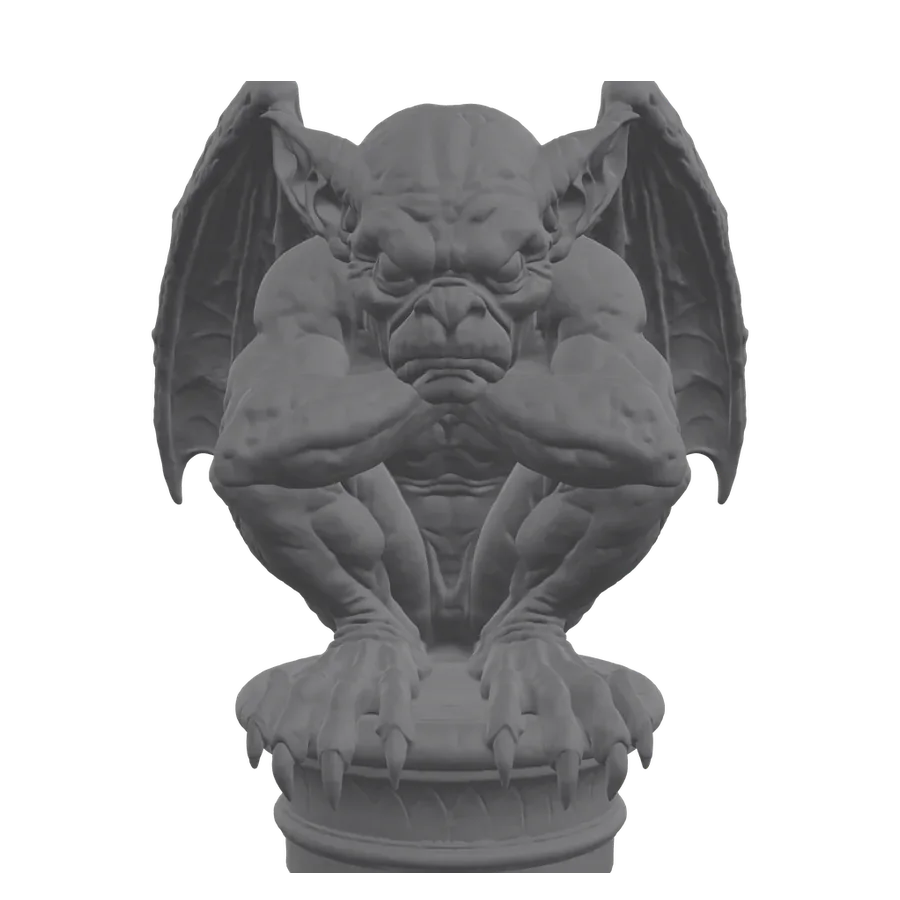
Each of these is a real Opolyo mesh, so drag any one to spin it. The full walkthrough from photo to finished print is in how to 3D print a photo.
BEFORE YOU SLICE
Preparing the STL for Your Slicer
A converted STL opens in Cura, PrusaSlicer, Bambu Studio or Orca like any other model file. Two things to check before you slice.
Will the STL Be the Right Size?
Yes. STL files carry no units, so a converter that writes metres produces a model your slicer reads as a thousand times too small. Every STL from either tool here is written in millimetres, and the relief converter shows the dimensions before you download.
Millimetres, always
Where the Colour Goes
Nowhere: the STL format has no field for it. In Relief mode, brightness survives as height. If you want the colours themselves, download the AI generation as GLB with its textures and print the STL for the shape.
STL stores geometry only
Is the Mesh Watertight?
Yes: the relief converter always writes a closed solid with a sealed top, a base plate and walls, and AI generations come out as closed meshes. A quick preview in your slicer before a long print is still worth doing.
Closed meshes, no naked edges
SPECIFICATIONS
Image to STL Specifications
- Free converter input
- JPG, PNG, WEBP
- Up to 20 MB, read locally in your browser tab.
- Free converter modes
- Relief or Extrude
- Brightness height for photos, threshold shapes for logos.
- Detail levels
- 128 / 256 / 512
- Grid cells on the long edge: Draft, Standard, Fine.
- Output
- Binary STL, mm
- Closed solid with a base plate and sealed walls.
- Size preview
- Before download
- Millimetre dimensions, triangle count and file size.
- Privacy
- Nothing uploaded
- On the relief path your image never leaves the tab.
- AI input
- One picture
- JPG, PNG or WEBP up to 10 MB, one subject per run.
- AI geometry
- A closed mesh
- Sides, a back and a bottom included.
- Polygon budget
- 500 to 2,000,000
- Faces, on a slider before the run, triangle or quad.
- AI formats
- STL, GLB, OBJ
- Plus FBX, glTF, USDZ and 3MF through the converter.
- Generation time
- A few minutes
- Usually under three minutes. Higher polygon counts and texture quality take longer.
- AI cost
- 10 credits
- At Standard textures, shown before the run. Failed runs refund.
AFTER THE DOWNLOAD
From STL to a Printed Object
Your slicer turns the STL into G-code, the movement instructions your printer runs.
Slicing the STL
Open the file in Cura, PrusaSlicer, Bambu Studio or Orca, check the size, pick a profile and export G-code. No online STL to G-code converter is needed; the slicer does this.
In slicer software you already have
Supports and orientation
A relief plate prints flat on its base and needs no supports. An AI generated figure usually needs supports under overhangs, and your slicer will show where.
Reliefs: none. Figures: slicer decides
On the printer
Load the G-code and print. The full walkthrough, including slicer settings, is in our how to 3D print a photo guide.
How to 3D print a photo, in the blog
BEFORE YOU CONVERT
Why Opolyo, not a typical image to STL tool
Pricing
Every credit turns into a model you keep
Billed every month. Cancel anytime.
Start
For your first prints and props
$19.99
USD
Billed monthly
- 160 credits / month (16 generations)
- Standard and Ultra PBR textures
- GLB, STL & OBJ export
- Built-in format converter
- Failed generations refunded automatically
- Commercial license
- Email support
Cancel anytime.
Build
For people who ship models weekly
$39.99
USD
Billed monthly
- 360 credits / month (36 generations)
- Standard and Ultra PBR textures
- GLB, STL & OBJ export
- Built-in format converter
- Failed generations refunded automatically
- Commercial license
- Email support
Cancel anytime.
Scale
For studios and print farms
$89.99
USD
Billed monthly
- 900 credits / month (90 generations)
- Lowest cost per credit
- Priority email support (24h response)
Cancel anytime.
I filled my first map in just one afternoon! That's 24 props already.

Marcus Reed
Built a GameImage to STL Converter FAQ
- The relief converter is free: no account, no upload, no watermark, no daily cap. AI reconstruction is the paid route, 10 credits per generation, and the two are labelled so you always know which one you are using.
- Not for the relief converter. The AI generator needs an account, since its results are stored in your workspace.
- No watermark and no limit on how many files you convert. What you set is what you download.
- The relief converter runs on your own machine. AI reconstruction runs for a few minutes on GPU hardware, and credits pay for that time. The cost is shown before you press generate, and a failed generation refunds itself.
- Your choice. The relief converter produces a plate with your image raised from the surface, flat on the back. AI reconstruction produces a closed object with sides, a back and an underside.
- From the AI generator, yes: it reconstructs the whole object, including the sides the photo never shows. From the relief converter, no: a relief is flat on the back, which is right for wall art and lithophanes and wrong for figurines.
- STL stores no colour, from any tool. In Relief mode, brightness survives as height. On the AI path, colours survive in the GLB download as textures, and the STL carries the shape alone.
- The relief converter shows the count before you download. It follows the detail level, from around thirty thousand at Draft to half a million at Fine. On the AI path you set a face budget yourself, from 500 to 2,000,000, in triangles or quads.
- JPG, PNG and WEBP on both paths. The relief converter accepts files up to 20 MB, the AI generator up to 10 MB. Screenshots, phone photos and exported artwork all qualify.
- For the relief converter, no: the image is read inside your browser tab and never leaves your machine. For AI reconstruction, yes: the image has to reach the GPU that rebuilds it, and it is stored in your private workspace.
- For a relief, a high-contrast image, since contrast is what becomes height. For AI reconstruction, one clearly visible object on a clean background. Resolution beyond the detail you asked for is averaged away, so a sharp 2,000 pixel image is plenty.
- Yes. Transparent pixels are read as background, so a transparent-background logo extrudes as the logo alone, without a dark slab behind it.
- Yes. The relief converter always writes a closed solid: sealed top, base plate and walls. AI generations come out as closed meshes too. A quick preview in your slicer before a long print is still worth doing.
- Yes. Every STL from either tool is written in millimetres, the unit every slicer assumes, and the relief converter shows the dimensions before you download. A model that imports a thousand times too small came from a converter writing metres.
- Any of them. The output is standard binary STL, which Cura, PrusaSlicer, Bambu Studio, Orca and every other slicer read natively, with no plugin or import settings.
- On the AI path, yes: a triangle generation downloads as GLB with full PBR textures, and the 3D model converter writes OBJ, FBX, glTF, USDZ and 3MF from it. A quad generation comes back as FBX and goes through the same converter. If you already have a GLB, the GLB to STL converter runs in your browser with no account. The relief tool only writes STL.
What people make with Opolyo
5,873 makers and counting. A few of them told us what they made, and what happened next.
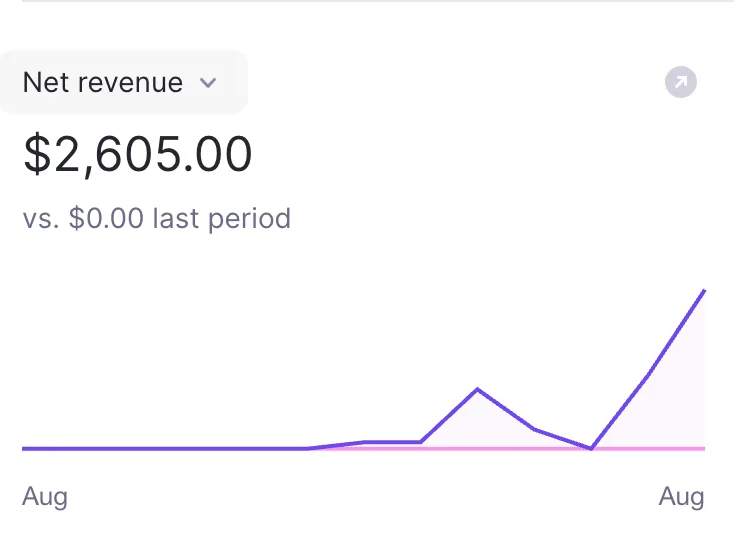 I’m a game dev and originally started using this to turn some of my reference images into 3D assets for a project. A few of the models turned out better than I expected, so I cleaned them up and started selling them on the side too. Just crossed $2,600 in net revenue from those 3D models. Never really planned on becoming an asset seller, but I’m definitely not complaining 🙌NNathan Brooks
- Didn’t think a single image would get me this far. The model needed a little cleanup, but I had a solid base ready in minutes. Saved me an entire afternoon.DDylan Reeves
- Turned one of my kid’s drawings into a little 3D character with Opolyo. She absolutely lost it when she saw it. Probably the most fun thing I’ve made with this so far.KKyle Brandt
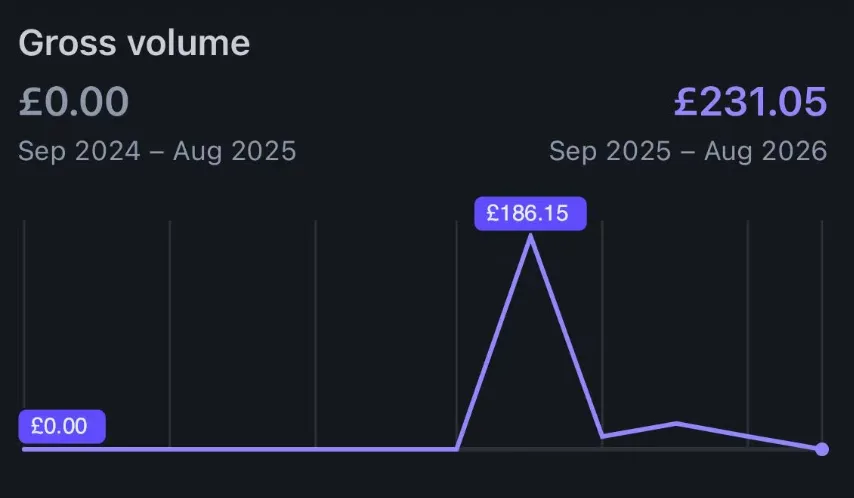 Honestly didn’t expect anyone to actually pay for the 3D stuff I was making. Put a few of them up for sale just to test it and somehow made £231 from my models. Still feels a bit unreal seeing that number 😂OOwen Whitaker
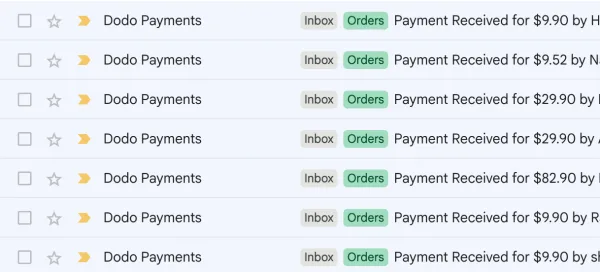 I started using Opolyo for a few custom 3D requests from clients and somehow it turned into a little side service of its own. Some people just need a quick conversion, others want more detailed work, so the order sizes are all over the place. Seeing multiple paid requests come in on the same day still feels pretty surreal. Never thought image-to-3D would become something clients actually kept coming back for.AAdam Pike
- I use a lot of reference images when working on interior concepts, and this made it really easy to turn an object I liked into a rough 3D asset. I still adjusted a few things afterward, but it saved me from modeling the whole thing from zero.CClaire Bennett
- Couldn’t find the exact prop I needed anywhere, so I threw the reference image into Opolyo as a last resort. The first result wasn’t perfect, but the overall shape and proportions were already there. It actually looked like the thing in my reference. After a little cleanup, it was exactly what I needed.JJonah Reyes
- Used it to turn a couple of product images into 3D models for our store. Took a few tries to get the best result, but still much easier than hiring someone to model everything manually.GGrant Miller
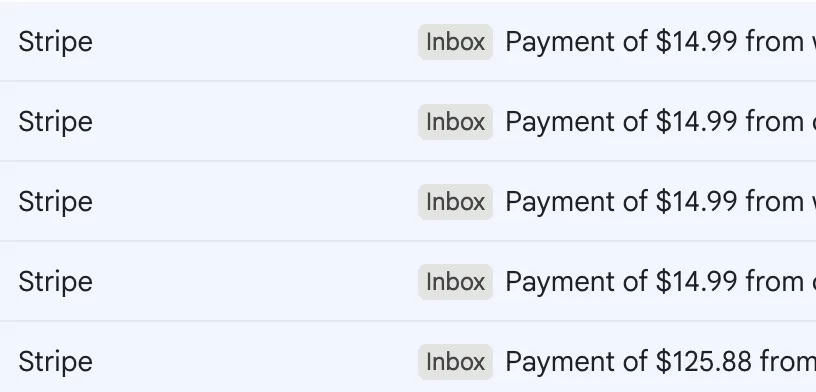 Woke up, checked my inbox and Stripe notifications just kept showing up. Most were $14.99 orders, then a $125.88 payment landed later in the day. I’m still pretty new to selling my 3D stuff, so seeing 5 sales come in on the same day was a really nice feeling. 🔥MMiles Prescott
- I had a photo of a small figurine from years ago that I couldn’t find anywhere anymore. Tried putting it into Opolyo just to see what would happen, and the result was honestly better than I expected. It felt like bringing an old thing back to life. I still want to clean up a few details before printing it, but this is probably my favorite use so far.RRiley Fenn
- Turned a photo into a little 3D model, printed it, and gave it to a friend for his birthday. Wasn’t expecting him to react that much 😂 He absolutely loved it. Now I’m thinking of making a few more for Christmas.TTyler Hodge
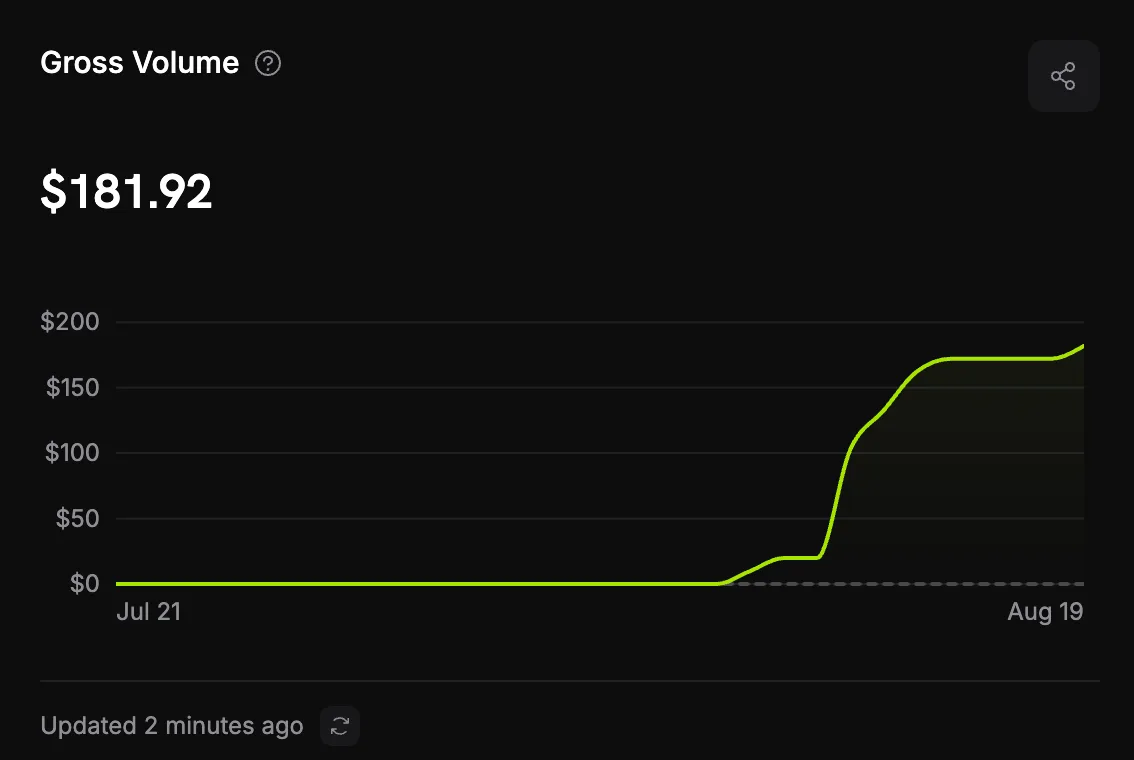 I mostly got into this because I like 3D printing and wanted to make a few custom pieces without learning modeling from scratch. Then a couple of people asked if I could make something for them too, so I started taking small requests here and there. Just hit $181.92 from custom 3D commissions. It’s not a huge number, but getting paid for something I was already doing for fun feels pretty awesome.WWes Delaney
- Been playing around with this for a small game project and some of the results are actually really fun. I generated a few props from reference images and one of them ended up fitting the scene perfectly. It’s staying in the game.EEvan Ross
Put a picture through it
Use the relief converter above, or open the AI workspace.