
Image to 3D Model: How to Make One From a Photo
One picture can become a complete mesh, and the camera only recorded one side. This guide covers what gets reconstructed, what gets inferred, and how to get a file you can use.
You can turn one picture into a model with a front, a back, sides and texture. There is no mesh to draw by hand and no ring of cameras to set up. A single-image 3D reconstruction reads the subject in one frame and builds the whole object around it.
That is a different job from a relief, which pushes pixels out of a flat backing, and from photogrammetry, which measures an object across many photographs. The method decides whether you get a plaque, a measured scan, or a model you can rotate and download.
This guide covers choosing the image, setting up the run, exporting the file and fixing the common failures. One thing to keep in mind throughout: the back is inferred from the visible view. It usually looks convincing, and the camera never saw it.
What "Image to 3D Model" Actually Means
The phrase image to 3d model covers several outputs that look alike in a search result and behave very differently once you open the file. Some tools produce a flat surface with height. Some measure a real object from many views. Some reconstruct a complete mesh from one view.
Start with the result you need. A logo for a keyring needs a relief. A faithful copy of a statue you can walk around needs a photogrammetry scan. An object shown in one picture needs single-image AI reconstruction.
The input count is the quickest way to tell them apart. A relief takes one flat image and stays flat at the back. Photogrammetry needs many overlapping pictures. AI reconstruction takes one image and fills in the parts that image did not record.
What image to 3D can mean
| Method | What it is | What it needs | Best for |
|---|---|---|---|
| Relief | A raised surface attached to a flat backing | One image, preferably a logo, silhouette or heightmap | Plaques, stamps, coins and signs |
| Photogrammetry scan | Measured geometry reconstructed from overlapping views | A real object and many photographs taken around it | Faithful copies, survey work and archival scans |
| AI reconstruction | A complete mesh inferred from one visible view | One clear image of one subject | Props, prints, concept assets and objects you cannot scan |
AI Image to 3D Model vs Relief and Lithophane
A relief turns brightness or colour boundaries into height on a flat base. A lithophane varies the thickness of a thin plate so a picture appears when light passes through it. Both are simple, useful outputs, and neither one tries to make the subject into a complete object.
An ai image to 3d model workflow produces volume around the subject, so you can rotate the mesh and see its sides and back. If you want the flat methods, the photo to 3D print guide covers when each one is the better choice.
Why "3D Model From Image" Is Not One Single Thing
A 3d model from image can describe geometry, appearance or both. STL carries a triangle surface with no texture. GLB puts the mesh, materials and textures in one file. A relief is also a valid mesh, even with a flat back.
Look past the preview and ask three questions. Can you turn it around? Is the mesh closed? Does the download keep the texture? Those answers tell you more than the tool's label does, and they stop you picking a flat converter when you need a full object.
Image to 3D Model vs Text to 3D
An image pins down one particular object. Its silhouette, proportions, colour and surface details are already in the frame. The generator interprets the missing depth, and it never has to decide whether your chair is round, square, red or blue.
Text is the better input when the object does not exist yet. A prompt describes a category and leaves more choices open. Use the text to 3D model tool for invention and variations, and an image when the result has to match a specific design.
How a 2D Image to 3D Model Gets Its Depth
A photograph stores width and height. Depth comes from cues such as overlap, perspective, shading and the known proportions of familiar objects. A 2d image to 3d model system uses those cues to propose a three dimensional surface.
The visible outline is the strongest constraint. A handle that breaks the silhouette is clear. A handle hidden behind the body is not. Soft shading can describe a curve, and a hard cast shadow can be read as a ridge or a hollow.
The result is a complete mesh, and completeness is not the same as measurement. The front is pinned down by the pixels you supplied. The farther a surface sits from that view, the more the system relies on learned shape patterns and symmetry.
What the Model Puts on the Side You Did Not Photograph
The unseen side is inferred. If the visible half of a vase is symmetric, the other half follows that pattern. If a backpack faces the camera and hides its straps, the generator has to decide their shape and placement without seeing them.
That is usually enough for a print, a background prop or an asset shown mainly from the front. For a hero asset that will spin through every angle, check the back early, and reshoot from a three-quarter angle if that side has to follow a specific design.
Turning a Flat Drawing or Logo Into 3D
A drawing can become a solid model, and it gives the system fewer depth cues than a photograph. Clean edges say where parts begin and end. Shading says whether those parts bulge, taper or sit behind one another. A flat outline leaves those decisions open.
For a logo, decide whether you want an invented object or a controlled extrusion. A relief or a manual extrusion keeps the back flat and every edge exact. An ai 3d model from image interprets the mark as a complete object with volume.
Inference, Not Measurement
Inference asks what shape could have produced the picture. Measurement asks where a surface actually was. A single image supports the first question. Photogrammetry answers the second by matching the same features across many camera positions.
Treat the generated mesh as a plausible reconstruction. If a mounting hole must be 8 mm wide, set or check that dimension in a modeling tool. For a game prop or a figurine, the mesh needs to look right, and measured accuracy rarely comes into it.
Which Photo or Picture Works Best
The input picture decides the result far more than the advanced controls. Whether you call it a photo to 3d model or a picture to 3d model job, give the system one subject with a complete outline. Fill most of the frame, and leave enough room that no limb, wheel or handle is cut off.
Choose an image that shows the object's volume. A slight three-quarter view shows the front and one side together, so the reconstruction gets real depth information on at least one side.
Simple, matte subjects are easiest. Glass, chrome and loose hair hide the real surface. They can still work, but expect more cleanup, because those pixels describe reflections and the system has to work out the solid shape underneath.
One Subject, One Clean Background
Put one object in the frame. Two touching subjects can come back as one fused mesh, and a hand holding the object can become part of it. Crop out distractions without cutting into the outline.
Use a plain background with clear contrast against the subject. Studio white is not required, just an edge the system can follow. A dark object on a dark sofa is harder than the same object on a light sheet.
Angle and Lighting
Use a camera angle that shows the shape without severe perspective. A three-quarter view is a reliable default. If a phone lens makes the nearest part look much larger than the rest, step back and zoom in slightly.
Light the subject softly from more than one direction and keep the important features out of deep shadow. Hard highlights and cast shadows read as geometry, so window light usually beats a spotlight.
Photos, Renders, Screenshots and Line Art
Phone photos, product images, renders, screenshots and clean drawings all work. A product render is often the easiest input, since it already has a plain background, even lighting and a clear silhouette. A screenshot is only as good as the image inside it, so crop away menus and borders.
Line art asks the system to invent more depth. Keep the outline closed, remove stray marks and use a shaded three-quarter drawing where you can. If you need to convert several 2d images to 3d model assets, prepare them at the same angle and lighting so the outputs match.
How to Turn an Image Into a 3D Model, Step by Step
This procedure starts with one picture and ends with a file you can open elsewhere. The order matters, because a weak input cannot be repaired by adding polygons later. Spend the first minute on the picture.
Opolyo uses single-image 3D reconstruction. It reads the first uploaded image for the run and does not combine a photo set.
Decide the destination before you generate. A print needs closed geometry and sensible thickness. A game asset needs a polygon budget and topology that fit the scene. A textured render needs a format that keeps its materials.
Pick one clear image
Choose one subject on a plain background. Keep the full outline in frame and prefer a three-quarter angle when the sides matter.
Open an AI image to 3D generator
Open the Opolyo image to 3D workspace. The image route builds one model from one uploaded picture.
Upload the picture
Upload a JPG, PNG or WEBP file. Check the preview and replace the image now if the subject is small, cropped or lost against the background.
Set the output options
Choose texture quality, triangle or quad topology and a face limit that suits the destination. A triangle run comes back as GLB, a quad run as FBX.
Generate and preview the mesh
Run the generation, then rotate the result through a full turn. Check the silhouette, base, thin parts and inferred back before downloading.
Download GLB, STL or OBJ
Keep GLB for a textured asset, export STL for a slicer, or export OBJ when the next modeling tool expects it. STL and OBJ are exported in the browser from a triangle run.
Using an AI Image to 3D Generator
An ai image to 3d generator removes the manual blockout stage. You give it the visual specification in one frame, and it returns a surface you can inspect. The work moves from pushing vertices to choosing an image that explains the object.
An image to 3d generator is most useful when you need a plausible complete object from one view. An ai 3d model generator does not turn that view into measured data, so rotate the preview and judge whether the inferred surfaces fit the job.
Settings That Change the Image to 3D Model Generator Result
Texture quality sets how much surface appearance the file carries, in three tiers: Standard, Ultra and Max. Topology sets the mesh structure. Triangle topology suits direct rendering and printing and comes back as GLB. Quad topology is the better start when you plan to edit or animate the mesh, and it comes back as FBX.
The face limit sets the geometry budget, from 500 to 2,000,000 faces. More faces keep finer shape and make a heavier file. Pick a budget for the destination.
When to Reshoot Instead of Regenerate
Reshoot when the mistake is visible in the input. If a handle is hidden, an ear is cropped or half the object sits in shadow, another run cannot recover evidence that is not there. Move the camera or the light and give the next run more information.
Regenerate or change settings when the subject was understood and the output budget is wrong. A good silhouette with rough texture calls for a texture change. A correct form that is too dense calls for a lower face limit.
Convert Image to 3D Model Into a Usable File
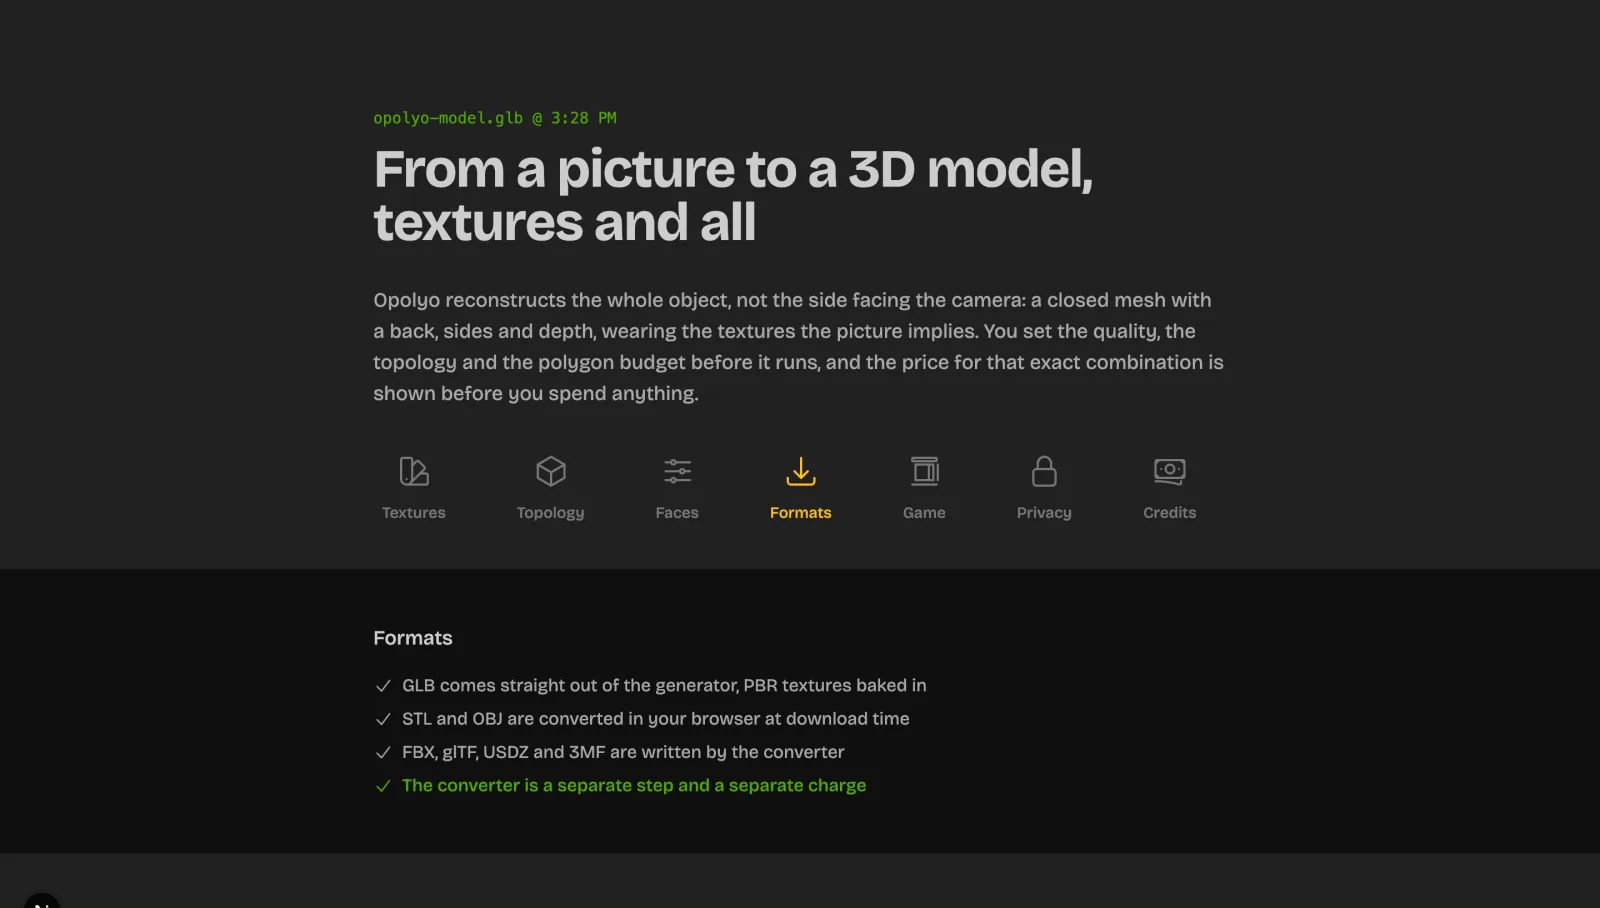
The preview is not the finished job. You need a file that fits the next tool. GLB, STL and OBJ can describe the same surface, and they package appearance and scene data differently.
Keep the richest useful source. A textured GLB is a good archive because it keeps the mesh and its PBR textures together, and you can export a geometry-only STL for printing without losing the textured original.
Avoid repeated conversions. Every format change can drop data the destination cannot store. Choose once for the next task, check the imported result, and keep the original generation beside it.
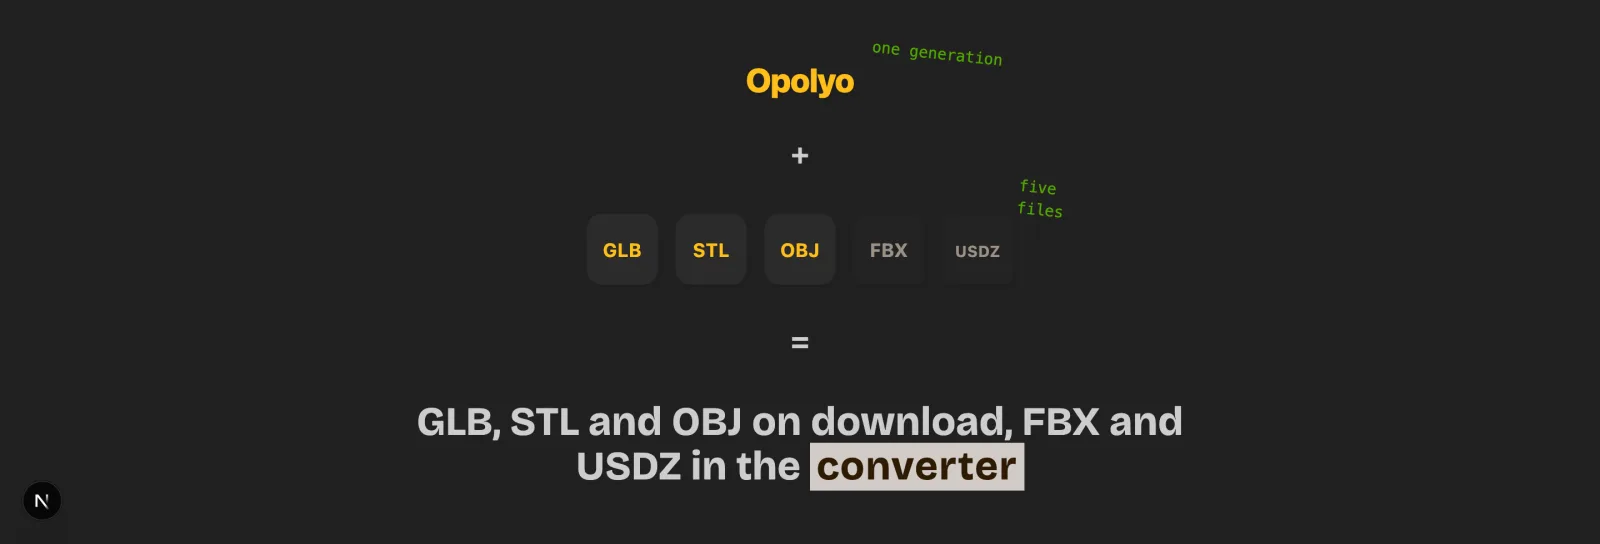
GLB, STL and OBJ
| Format | Holds | Colour | Best for |
|---|---|---|---|
| GLB | Mesh, scene data, materials and embedded textures | Yes, through materials and textures | Web viewers, textured archives and modern 3D pipelines |
| STL | A triangle surface | No standard colour or texture data | Slicers and single-colour 3D printing |
| OBJ | Geometry, UVs and references to separate material data | Yes, when the related material and image files travel with it | Broad compatibility with modeling software |
GLB, STL and OBJ, and When to Use Each
Choose GLB when appearance needs to travel with geometry. It packages a glTF asset into one binary file, so it is convenient for browsers, review tools and transfers. In Opolyo it is the direct output of a triangle run, with PBR textures included.
Choose STL when you are sending geometry to a slicer and colour will come from filament. Choose OBJ when a modeling package or an older pipeline expects it. An OBJ texture may depend on files beside the OBJ; a GLB keeps the asset together.
When the Image to 3D Model Converter Hands You OBJ or GLB
Do not regenerate just to get another format. The geometry already exists, so import the file into the destination or convert it once. A triangle run in Opolyo returns GLB with PBR textures, and the STL and OBJ downloads are converted in your browser from that file. A quad run returns FBX.
Open the converted file before deleting anything. Check scale, orientation, materials and texture links. A finished image convert to 3d job can still look different in another viewer, because the viewer uses its own light and material setup.
Why an STL Has No Colour
Standard STL describes a surface as triangles. It has none of the material and texture structure GLB uses. A slicer may show the model in a colour, and that display colour is chosen by the slicer, with nothing stored in the file.
For ordinary printing, filament supplies the colour and STL is enough. For a textured render, product viewer or colour-aware pipeline, keep the GLB. Converting GLB to STL leaves the texture behind.
The face limit you set decides the file size, because a binary STL stores about 50 bytes per triangle and nothing else. A light model is a small file, and a two million face model is a large one.
Approximate binary STL sizes for the mesh alone, at about 50 bytes per triangle. Pick a face limit that suits the destination.
3D Model Generator From Photo: Picking a Tool
Pick a method by the evidence you have and the accuracy you need. One image supports fast reconstruction. Many controlled views support photogrammetry. A dimensioned drawing with strict specifications may justify manual modeling.
Then inspect the practical output. Check whether you can download the mesh, whether textures travel with it, which topology controls exist and what licence covers the result. A rotating preview on its own is not a usable asset.
For the common case of one picture and one object, an AI 3d model generator from photo is the direct route. You get speed and access, and the hidden surfaces are inferred. Know that before you generate.
AI Reconstruction, Manual Modeling and Photogrammetry
These methods solve different input problems. Compare them by what you already have, how exact the hidden surfaces must be, and how much manual work the asset can justify.
AI image-to-3D generator
One image becomes a complete, textured mesh with inferred hidden surfaces.
- Needs one clear picture
- Produces a closed object you can turn around
- Triangle or quad topology and a face budget are set before generation
- Needs an account
- Paid, priced in credits
- Takes a single image, so hidden surfaces are inferred
Best for: Single-image objects, props, concept assets and printable forms
Manual modeling
An artist builds the mesh and makes each design decision directly.
- Gives direct control over dimensions and topology
- Can follow drawings, measurements and art direction
- Hidden details are modeled explicitly
- Takes modeling skill
- Takes longer than an automated first pass
- Texturing and UV work are separate tasks
Best for: Exact products, engineered parts and hero assets with strict art direction
Photogrammetry
Software measures a real object by matching features across many photographs.
- Captures real visible surface variation
- Can preserve specific wear and asymmetry
- Every surface in the result was photographed
- Requires physical access to the object
- Needs many overlapping images and controlled capture
- Often needs cleanup where the cameras could not see
Best for: Measured copies of real objects, locations and surfaces
Our take
Use Opolyo's AI generator when you have one picture of one object and need a complete mesh quickly. Choose manual modeling when exact dimensions or directed hidden details matter. Choose photogrammetry when you have the real object and need its observed surface.
Single Image vs Multiple Images: Not Photogrammetry
Opolyo takes one image per generation. It does not combine multiple images to 3d model geometry, and it is not photogrammetry. Its speed comes from inferring a complete object from that single view.
A multi-photo system solves a different problem. It matches features across viewpoints to estimate camera positions and geometry. Use that route when you have the object and observed accuracy is the requirement.
Open Source and Hugging Face Options
An open source image to 3d model project is worth a look when you want to study the pipeline, run experiments or control the deployment. Check the model licence, hardware requirements, texture output and maintenance status before comparing it with a hosted tool.
An image to 3d model Hugging Face demo is often a good way to inspect a research model. Public demos can have queues, changing limits and no durable storage, so treat them as evaluation surfaces unless their own documentation promises a production workflow.
What One Model Costs
A generation with Standard textures costs 10 credits, and the exact cost shows on the button before you generate. Ultra or Max textures and quad topology cost more; the polygon budget does not change the price.
Credits come from a plan or a credit pack, and a generation that fails returns its credits to your balance.
3D Model From Photos: When You Have More Than One Image
If you can photograph a real object from every side, you have a choice. Pick one strong view for single-image reconstruction, or capture a full overlapping set for photogrammetry. The right route depends on whether you need a convincing model or a measured copy.
A photo set only helps when the tool is built to use it. Uploading several pictures to separate single-image runs gives you several interpretations. It does not merge them into one more accurate mesh.
For 3d modelling from photos, plan the capture before shooting. Photogrammetry needs consistent focus, exposure and overlap. Single-image reconstruction needs one clean frame that shows the silhouette and the important visible side.
Photogrammetry, in One Paragraph
Photogrammetry finds the same visible features in overlapping photographs and uses their changing positions to estimate three dimensional coordinates. The result is built from many observed views of a real subject. Capture gaps become mesh gaps or weak areas, because no camera supplied evidence there.
Use it when you can walk around the object and need its specific dents, wear or proportions. It takes more capture work and usually more cleanup, and it is the right answer when make 3d model from photos means measuring one physical object.
Why a Single Image Is Usually Enough
One image is enough when the target is visual plausibility. A prop in the middle distance, a first concept model, a tabletop figure or a front-facing product asset rarely needs measured hidden surfaces. The visible view carries the identity, and inference completes the volume.
It is also the only practical input when the picture came from an archive, a client or a concept sheet and the object is not in front of you. Use the information you have, then review the inferred side against the job.
A relief and a single image AI reconstruction each need one photo. Photogrammetry needs dozens, forty or more, taken all the way around the object.
Convert Photo to 3D Model for 3D Printing
A printer needs an enclosed volume. The mesh must have a clear inside, fit the intended scale and keep important parts thick enough for the nozzle or resin process to reproduce.
As a photo to 3d model converter, Opolyo generates closed meshes, and STL is available for the slicer workflow. That is a sound starting point. Still check the slice preview before a long job, because supports, scale and minimum feature size belong to the print setup.
If you want a flat plate or a raised picture, use the photo printing guide. For the geometry workflow, the image to STL page explains the format and the print handoff in more detail.
Getting a Watertight, Printable Model
A watertight mesh encloses a volume with no open edges. That lets a slicer decide what is inside, where the walls go and where the infill belongs. A viewer can hide a small hole; a slicer has to resolve it.
Rotate the model before export, then inspect the sliced layers. Look for missing faces, floating pieces and thin parts that disappear in the preview. Repair or thicken them before printing. Temperature and speed settings do not fix geometry.
From Model to STL to a Printed Object
Download STL, open it in your slicer, set a real size and place the most stable face on the bed. Add supports where the model starts in midair or has steep overhangs. A generated object follows the same slicing rules as any downloaded mesh.
Print a small test before committing to a large version. It exposes weak ankles, thin handles and support scars quickly. Keep the GLB beside the STL, since it holds the textured source if you later use the same model on screen.
Image to 3D Model in Blender, Unity and Unreal
A generated model becomes useful once it enters the rest of your pipeline. Blender can inspect, scale, edit and export it. Unity and Unreal can place it in a scene once you pick a format and material setup those projects expect.
Do the first import before planning a big cleanup. Check orientation, dimensions, normals, texture paths and polygon count. A model that looks right in a web preview can arrive in another program with a different up axis, unit convention or lighting.
Keep changes purposeful. Delete hidden geometry only when it helps the destination. Reduce polygons for a real-time scene. Add a base or thicken parts for a print. One generated source can serve several outputs if each copy is prepared for its own job.
Importing the GLB or OBJ
In Blender, use the glTF importer for GLB or the Wavefront importer for OBJ. After import, orbit around the mesh, verify its scale and inspect the material slots. If an OBJ arrives without its companion material and image files, the geometry opens and the appearance does not.
For Unity or Unreal, follow the engine's current asset import path and keep the textures with the source. FBX imports directly into both engines, and a quad generation already comes back as FBX; GLB works in pipelines that read glTF. Test one asset before converting a whole set.
Print-Ready vs Game-Ready
A print-ready asset needs a closed volume, adequate thickness, a stable orientation and a sensible physical scale. Texture maps may not matter. High polygon density helps curved surfaces, and detail smaller than the print process still disappears.
A game-ready asset needs a controlled polygon budget, efficient materials, useful UVs and performance that fits the scene. Quad topology makes later editing easier, and a lower face limit reduces runtime cost. Rigging and collision are separate steps.
Common Image to 3D Model Problems and Fixes
Most failed-looking results have a visible cause. The subject merged with the background, the light hid a feature, the camera cut off a part or the requested detail exceeded the geometry budget. Name the symptom before changing anything.
Fix the earliest stage that contains the problem. Reshoot a missing silhouette. Change the face budget for rough geometry. Repair a small hole after export. Repeating the same run without a theory gives you a different result and rarely a better one.
When you read an image to 3d model Reddit thread or a tool comparison, check whether the example used relief, reconstruction or photogrammetry. Advice for one method can be wrong for another, and a flat-back converter and a single-image reconstruction fail in different ways.
Symptom, likely cause and fix
| Symptom | Likely cause | Fix |
|---|---|---|
| Melted or blobby surface | Blur, deep shadow, reflections or too little visible detail | Use a sharper image with soft, even light and a matte subject |
| Wrong back or sides | The single view did not show those surfaces | Reshoot at a three-quarter angle or edit the inferred side manually |
| Separate parts fused together | Objects touch in the frame or gaps are hidden | Separate the subjects and make important gaps visible |
| Antennae, fingers or handles disappear | The feature is too thin, cropped or below the mesh budget | Show the full outline, raise the useful face budget or thicken it later |
| Texture stretches around the hidden side | The source only describes colour from one view | Use a view with more side information or repaint the hidden area |
| The model imports tiny or huge | The destination uses a different unit convention | Set one known dimension after import and apply the scale |
The Result Looks Melted or Blobby
A blobby result usually means the image did not separate form from appearance. Motion blur removes edges. Strong shadows create false edges. Reflections show the room in place of the surface. A small subject leaves too few useful pixels.
Crop closer, use soft light and choose a view with a clean silhouette. Adding polygons first does not help: a larger mesh describes the same mistaken shape in more detail, and a better image changes what shape the system understands.
The Back or Sides Came Out Wrong
The back was inferred because the camera did not see it. If the object has a surprising rear design, a front view gives the system no way to recover that fact. Symmetry helps common shapes and hurts deliberately asymmetric ones.
Use a three-quarter view that exposes the important side, or edit the generated mesh against a reference afterwards. If exact rear geometry is essential and you have the object, switch to a multi-view capture.
Thin Parts, Holes and Scale
Thin parts fail twice. They can vanish during reconstruction because they occupy too few pixels, then vanish again in slicing because they are narrower than the print process can reproduce. Show them clearly and thicken them for the final scale.
Repair open edges before printing, and set the scale from a dimension you know. STL has no unit, so a clean model can still arrive at the wrong physical size when the source and destination read its numbers differently.
Image to 3D Model FAQ
Yes. Single-image AI reconstruction turns one clear picture into a complete mesh with a front, back and sides. The visible surfaces follow the picture, and the surfaces the camera did not see are inferred.
One subject that fills most of the frame, with its full outline visible against a plain contrasting background. A three-quarter view in soft, even light gives the best shape cues.
It handles people and faces as well as objects. Use a clear three-quarter portrait, keep hair and limbs inside the frame, and expect loose strands or hidden features to come back as a simplified surface.
Yes. Clean screenshots, renders and drawings all work. Flat line art carries less depth information than a shaded photograph, so its thickness and unseen surfaces are interpreted more freely. Use a relief when a logo needs exact edges and a flat back.
No. Opolyo uses one image per generation. More photographs only help in a tool built for multi-view reconstruction, such as photogrammetry software.
The system reads silhouette, perspective, overlap and shading as clues to form. It builds a surface that explains those clues, then completes the hidden volume from learned patterns of how similar objects are shaped.
An inferred surface. The model uses the visible shape, symmetry and learned object structure to make a plausible back. Check that side before using it in a close rotating shot or a job that depends on exact rear details.
No. Photogrammetry measures geometry by matching features across many overlapping photos of a real object. Opolyo reconstructs from one picture and infers what that picture did not show.
A triangle generation returns GLB with PBR textures, and STL and OBJ are exported in the browser when you download. A quad generation returns FBX. Use GLB for a self-contained textured asset, STL for printing and OBJ when the next tool expects it.
Yes. Download STL, open it in a slicer, set the physical scale, orient it and inspect the layer preview. Generated meshes are closed, and thin details and supports still need the same checks as any other printable model.
Blender imports GLB and OBJ. For Unity and Unreal, FBX imports directly, and a quad generation already comes back as FBX; GLB fits pipelines that read glTF. Verify scale and materials after import.
Standard STL stores a triangle surface, with none of the PBR materials and image textures that carry colour. Keep the GLB when appearance matters. For a typical print, filament or resin sets the colour.
A generation with Standard textures costs 10 credits. Ultra or Max textures and quad topology cost more, and the polygon budget does not change the price.
Opolyo is paid from the first generation and needs an account. Public research demos offer limited runs, and their queues, export rules and availability depend on the project.
Usually under three minutes, depending on texture quality and polygon count. Progress shows in the viewport, and the finished model reports its generation time.
Melted or blobby geometry usually starts with blur, hard shadows, reflections, a busy background or a subject that is too small. A wrong back means the single view did not show that design. Improve the input or edit the inferred side; raising the face count on its own does not fix either.
Sources and References
- STL (file format), Wikipedia (accessed 2026-08-31)
- Photogrammetry, Wikipedia (accessed 2026-08-31)
- Importing and Exporting Files, Blender Manual (accessed 2026-08-31)
- glTF Runtime 3D Asset Delivery, Khronos Group (accessed 2026-08-31)
Keep working with the model
Editorial, Opolyo
We build Opolyo and we run everything we write about here, on the same plans and the same credits as everyone else.
Turn one picture into a complete 3D model
Upload one clear image, choose the topology and face budget, then preview the inferred back before you download the model.